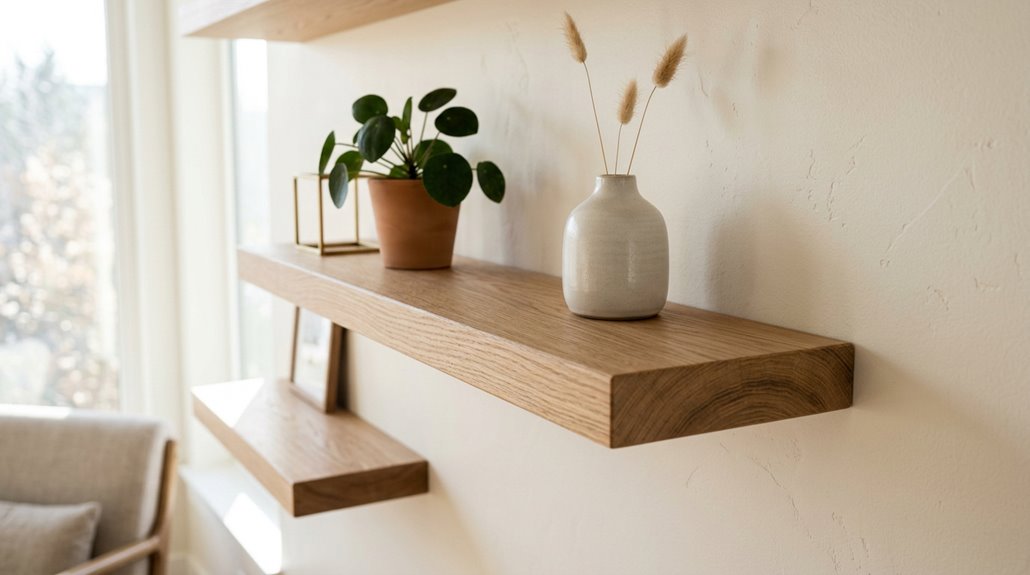
Floating shelves appear to hover seamlessly, but hidden brackets provide the structural support. Shelves mounted into wall studs with backing can hold 200+ pounds of weight. Without proper stud installation, weight capacity drops to approximately 50 pounds maximum.
Installation requires a stud finder, drill, level, and brackets. Mounting must be secured into solid wood rather than drywall alone to ensure shelves remain stable and secure.
For detailed installation instructions, refer to the complete guide below.
What Are Floating Shelves
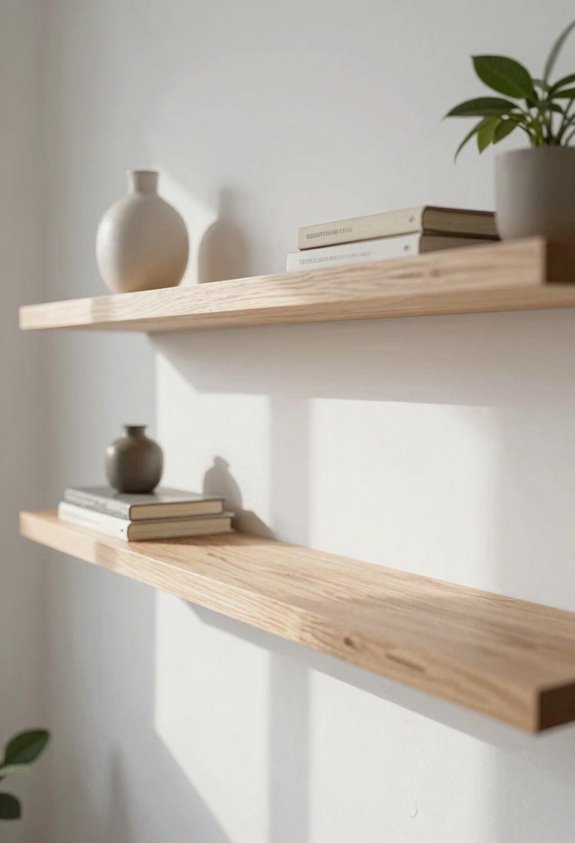
Floating shelves are wall-mounted units that appear to hover in mid-air with no visible support. Hidden brackets and rods provide the structural support behind the scenes. The shelf itself is milled with interior space so the mounting hardware remains completely concealed.
You have options when it comes to installation. Some models max out at 17 inches deep, while others reach 24 inches with desk configurations. They can handle serious weight; up to 80 pounds per rod for certain setups. The installation process involves mounting those hidden brackets into your wall studs, then sliding the shelf right over them. This approach offers advantages over traditional shelving.
Weight Capacity and Load Planning
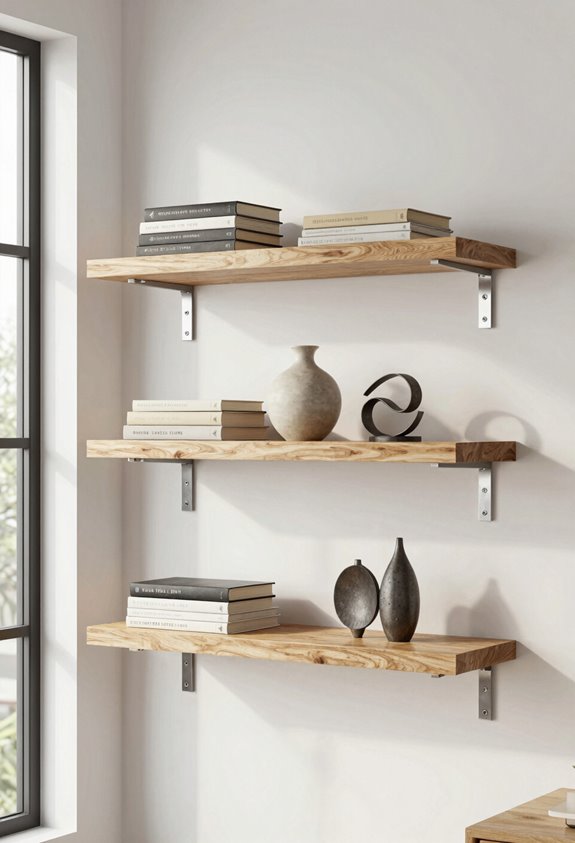
Before you load your floating shelves, you need to understand how much weight they can actually handle. This involves critical relationships between your wall studs, bracket depth, and the pounds your shelf can support. A single stud maxes out around 45–50 lbs, but add blocking and multiple attachment points, and you’re looking at 200+ lbs of capacity. We’ll break down exactly how depth affects weight limits, why drywall-only mounting fails to provide adequate support, and how to calculate what your specific setup can handle.
Weight Per Wall Stud
How much weight can you actually hang on those brackets without your shelf crashing down like a failed soufflé? Each wall stud handles about 45–50 lbs. Double up, and you’re looking at 90–100 lbs of capacity. Add a third stud and you’ve got 135–150 lbs. Blocking behind the wall increases capacity to 200 lbs or more. More studs equal heavier shelves. Match your shelf weight to your stud count, and you won’t risk your items falling during the night. Plan accordingly.
Blocking And Maximum Capacity
When you’re serious about loading those shelves with your entire book collection or that vintage pottery collection you’ve been bragging about, blocking is your covert asset.
- Blocking transforms capacity from 90–100 lbs to 200+ lbs.
- Two studs alone support only 90–100 lbs max. Three studs support 135–150 lbs.
- Solid wood anchoring through blocking outperforms drywall-only mounting.
- Every bracket hole screwed into solid wood increases your shelf’s reliability.
- Quality brackets paired with blocking create impressive load capacity.
Blocking gives your shelves significantly greater strength. You’re distributing weight across solid studs rather than relying on drywall alone. Think of it like upgrading from a cardboard box to a steel container. The difference is substantial. Your items remain secure and your walls remain undamaged.
Depth And Thickness Requirements
So you’ve got your blocking sorted. Now let’s discuss what actually goes on those shelves, because shelf depth and wood thickness aren’t just aesthetic choices; they’re essential to your whole setup.
Your shelf thickness matters significantly. The Aksel Light Duty needs minimum 1.25 inches, while the Xtra Duty requires 2 inches. Thinner wood sags faster than a sad sandwich. Depth-wise, you’re looking at 17 inches max for Aksel XD, but the Yuri XD supports up to 24 inches with proper brackets. Deeper shelves require larger brackets. Match your wood thickness to your model to avoid sagging that compromises structural integrity.
Tools and Materials You’ll Need
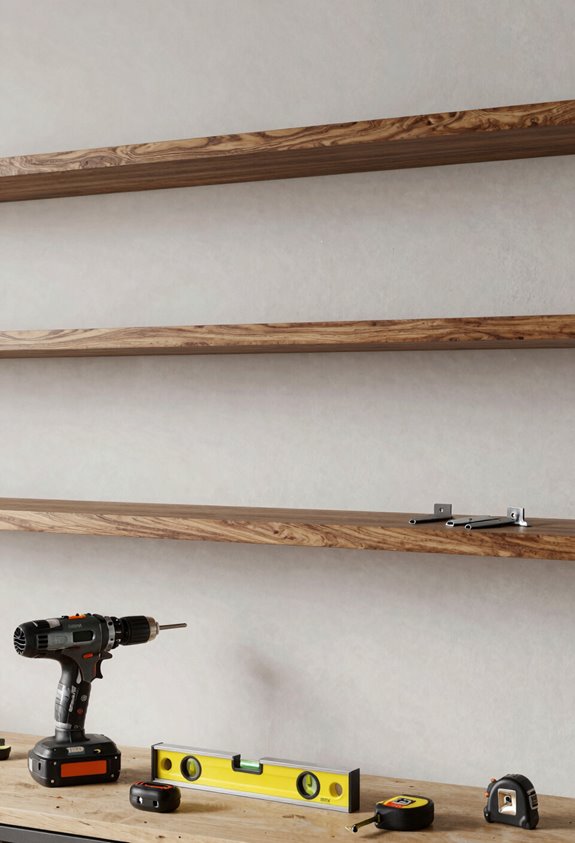
Before you touch a drill bit, gather the right materials. Having everything prepped prevents the frustrating halfway-through-the-project scramble when you realize you forgot something essential. Here’s what you need nearby:
- Stud finder (non-negotiable for locating those wall studs safely)
- Power drill with bits for both pilot holes and your mounting hardware
- Level tool to ensure your shelves sit perfectly straight, not wonky
- Set screws and brackets designed for your specific shelf depth system
- Measuring tape and pencil for marking exact placement points
Gathering these materials upfront means you’re ready to install those shelves with confidence. You won’t be hunting around mid-installation for missing tools.
Locating Studs and Planning Bracket Placement
Your tools are ready. Grab your stud finder and scan your wall methodically. Mark each stud location with pencil. You’ll want at least two studs supporting your bracket for roughly 90–100 lbs capacity. Three studs provide 135–150 lbs capacity.
| Studs Used | Weight Capacity | Recommended Use | Installation Time | Difficulty Level |
|---|---|---|---|---|
| One stud | 45–50 lbs | Light décor only | 15 minutes | Easy |
| Two studs | 90–100 lbs | Books, plants | 25 minutes | Moderate |
| Three studs | 135–150 lbs | Heavy items | 35 minutes | Moderate |
| Two studs + blocking | 150–200+ lbs | Maximum strength | 45 minutes | Advanced |
| Custom blocking | 200+ lbs | Professional grade | 60 minutes | Advanced |
Plan your bracket placement strategically. Additional studs increase load-bearing capacity and structural stability.
How to Install Standard Floating Shelves
Ready to mount your shelves. Here’s the installation process.
I’m drilling those 17/64″ clearance holes into my steel bracket, then driving 3/16″ pilot holes straight into the studs. Level verification is essential for professional-looking floating shelves.
Here’s my installation sequence:
- Secure the steel top bracket 3/8″ below your desired shelf height
- Position brackets 1.5″ from each shelf end for stability
- Drive pilot holes into at least one stud, preferably two or more
- Slide the wood shelf onto bracket rods carefully
- Apply painters caulk at the ends for that clean finish
Once everything’s locked down, verify levelness across both rods using your spirit level. If needed, rotate the offset cam slightly for perfect alignment.
Installing on Different Wall Types
Now that you’ve mastered mounting into studs, consider walls with different compositions. Plaster walls require a masonry bit to drill through the dense material without damage. Concrete or brick walls need anchors rated for heavier loads, typically 50-100 lbs depending on your shelf bracket quality. Blocking behind studs on weaker walls can boost capacity to 200+ lbs and should not be skipped. Tile or stone surfaces require toggle bolts or heavy-duty anchors. Test your chosen anchor method first on a hidden spot before full installation. Different walls require different installation approaches.
Securing Your Shelf and Applying Caulk
Secure the shelf to the bracket so it won’t slide off. Apply a quarter-sized dollop of painters caulk to those shelf ends where the wood hits the wall. This seals gaps and locks everything down tight. After caulking, recheck the whole thing with your spirit level to catch any tilt before it becomes a problem. Clean up any excess caulk with a thin putty knife and verify that final alignment.
Preventing Shelf Movement
How do you keep your shelf from sliding right off the bracket like it’s on an ice rink? The solution requires solid technique and attention to detail.
- Apply a quarter-sized dollop of painters caulk at each end where the shelf meets the wall
- Clean excess caulk immediately for hassle-free removal later
- Double-check your shelf’s level after caulking, as nothing performs worse than crooked shelves
- Use sturdy screws into wall studs for maximum grip and stability
- Install blocking behind the shelf when possible to prevent any wobbling
After you’ve caulked and secured everything, verify alignment one more time. This step prevents annoying movement down the road.
Applying Caulk Properly
Once your brackets are locked in place and you’ve verified that your shelf isn’t tilting like the Leaning Tower of Pisa, it’s time to make those brackets disappear with caulk.
Apply a quarter-sized dollop of painters caulk along the shelf ends where wood meets wall. This secures everything while keeping future removal totally possible. After caulking, clean excess material immediately and use a thin putty knife to scrape caulk from between shelf and wall. This prevents the shelf from bonding permanently to the wall, allowing for removal without damage.
Finally, verify levelness with a spirit level. The caulk conceals bracket contact points and creates that seamless floating appearance.
Final Alignment Verification
The final stretch is where your floating shelf goes from “looks pretty good” to “this thing is actually level.” You’ve got your steel bracket locked down with those pilot holes and screws, your wood shelf’s sitting snug on top (scraped to match whatever funky wall texture you’re working with), and now comes the critical part: making sure everything’s actually, genuinely level and not just eyeballing it like you’re at a bar trying to convince your friend the table’s fine.
Here’s what I do to lock this down:
- Grab your level and check front-to-back
- Verify side-to-side alignment carefully
- Watch for gaps between shelf and wall
- Re-tighten screws if needed
- Document with photos for your records
That caulk you just applied is drying, but your shelf needs to stay put. Check it again after caulking dries completely. Nailing this verification step ensures your shelf stays rock-solid for years.
Fixing Common Installation Mistakes
Ever wonder why some floating shelves look like they’re staging a slow-motion escape from the wall? I’ve totally been there, homie. The biggest mistakes I see? Drilling into drywall instead of studs, skipping the level check, and underestimating weight capacity. Let me break down what goes wrong:
| Mistake | What Happens | The Fix |
|---|---|---|
| Drywall-only mounting | Sagging shelf (within weeks!) | Drill into studs, always |
| Uneven installation | Books sliding off one end | Use spirit level before securing |
| Overloading | Catastrophic failure (dangerous!) | Max 45-50 lbs per stud |
Drilling into solid wood through blocking transforms everything. You’re looking at over 200 lbs capacity instead of barely 50 lbs. Take your time measuring, verify everything’s level, and use caulk to hide gaps. This approach will produce the results you need.
Why Floating Shelves Work in Any Room
Floating shelves work in any room. They’re suitable for bedrooms, kitchens, bathrooms, living rooms, and more. Since they mount straight to your wall studs and come in depths up to 24 inches, you’re not sacrificing precious floor space like you would with a bulky bookcase. This is particularly beneficial for smaller rooms where every square inch counts. Whether you’re displaying your plant collection, organizing your office, or creating that minimalist aesthetic you’ve been dreaming about, these shelves adapt to whatever style you prefer.
Versatile Room Applications
Floating shelves work everywhere, from your bedroom to your kitchen to that awkward hallway nobody knows what to do with, because they’re incredibly adaptable. With proper stud mounting, you can customize them for any space you’ve got.
Check out these versatile applications:
- Bedrooms: Display photos, books, and personal treasures without taking up floor space
- Kitchens: Store spices, cookbooks, and decorative items at eye level
- Living rooms: Showcase collections while keeping clutter off tables
- Bathrooms: Organize toiletries and towels efficiently
- Home offices: Create functional workspace without bulky furniture
You’re not locked into one style. Whether you’re minimalist or maximalist, floating shelves adapt to your vibe. They work because they’re genuinely practical; 150–200 lbs capacity with proper installation means serious functionality.
Space-Saving Design Benefits
How much floor space are you wasting right now? Floating shelves save space by ditching that bulky base entirely. You’re basically reclaiming real estate without sacrificing storage. With depths up to 24 inches on desk combos, you’ve got serious room for books, plants, and décor without eating into your floor. That means your room actually breathes. No clunky shelving units hogging corners anymore. You get a cleaner, more open vibe that makes spaces feel bigger. It reduces visual clutter and creates an airier atmosphere. Plus, mounting them at any height means you’re using wall space most folks ignore. This maximizes your usable storage without consuming floor area.
Final Checks Before You Declare Success
Once you’ve got those rods tightened and your shelf resting on them, you’re not quite done yet. This is the leveling moment that separates properly installed shelves from ones where items slide around. Complete these steps:
- Grab your spirit level and place it on both rods
- Check for any tilting or wonky angles
- Rotate the offset cam if needed for perfect alignment
- Verify the shelf sits flush against the wall
- Double-check everything one more time
Don’t skip this step. Even a tiny slant looks terrible and makes your stuff slide around like you’re on a boat. Take five minutes here, and you’ll have a shelf that functions correctly. A properly leveled shelf will prevent items from shifting over time.
Maintenance and Care for Long-Lasting Floating Shelves
So you’ve installed your shelves, nailed the leveling, and they’re looking sharp. Your work isn’t actually done. Your floating shelves need regular maintenance to stay rock-solid. Check those brackets every few months, making sure nothing’s wiggled loose. Vibrations happen. If you spot any gaps between the wall and shelf, grab your drill bit and tighten those mounting screws immediately. Dust regularly, but avoid excessive weight shifts that stress your studs. Those 90–100 lbs your two studs support require you to respect that limit. Don’t go rearranging heavy items constantly. Your shelves require consistent attention and maintenance to function long-term.