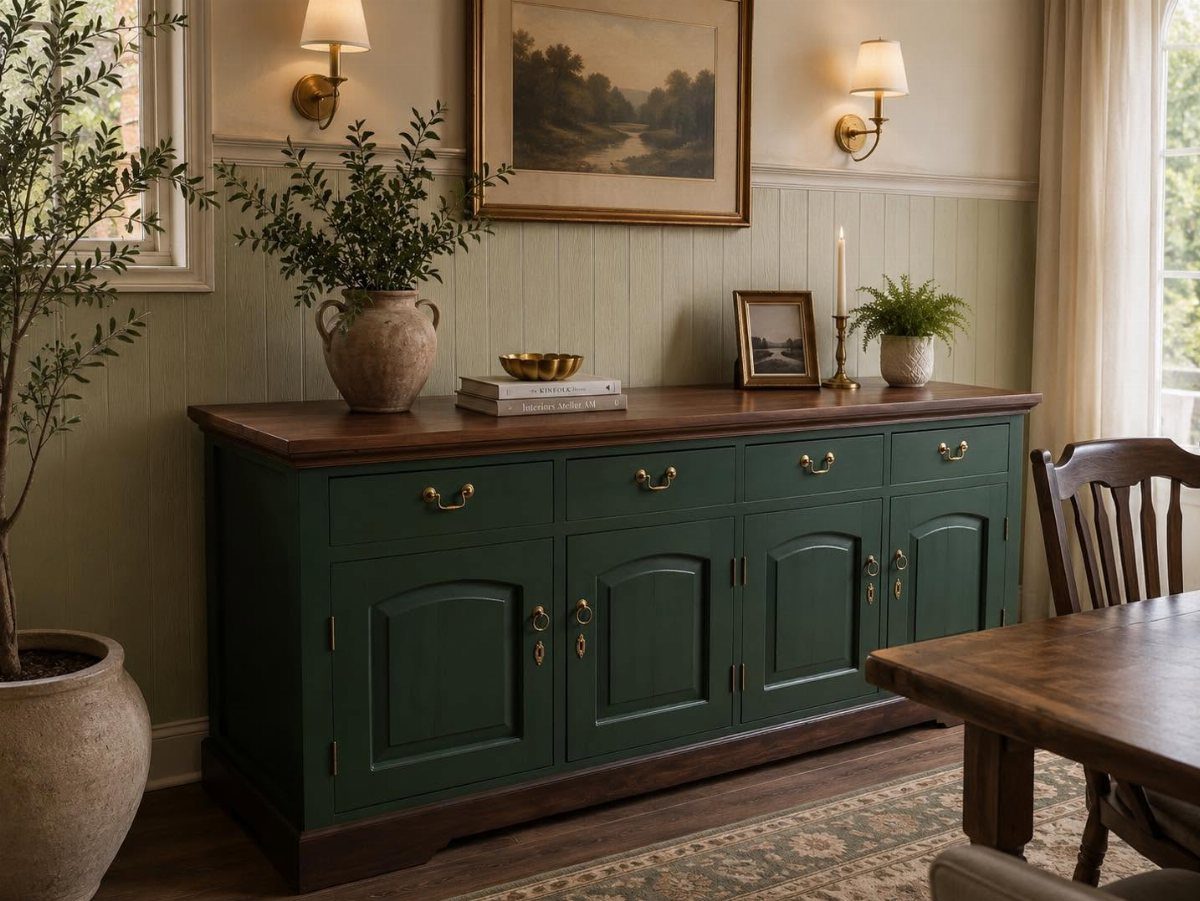
Methods range from a marker fix for a scratch to full stripping and restaining, and which one you pick depends on the finish you want and what condition the piece is in now.
If the piece has a finish on it, you’ll need to strip it before staining; bare wood takes stain directly.
1. Paint Furniture
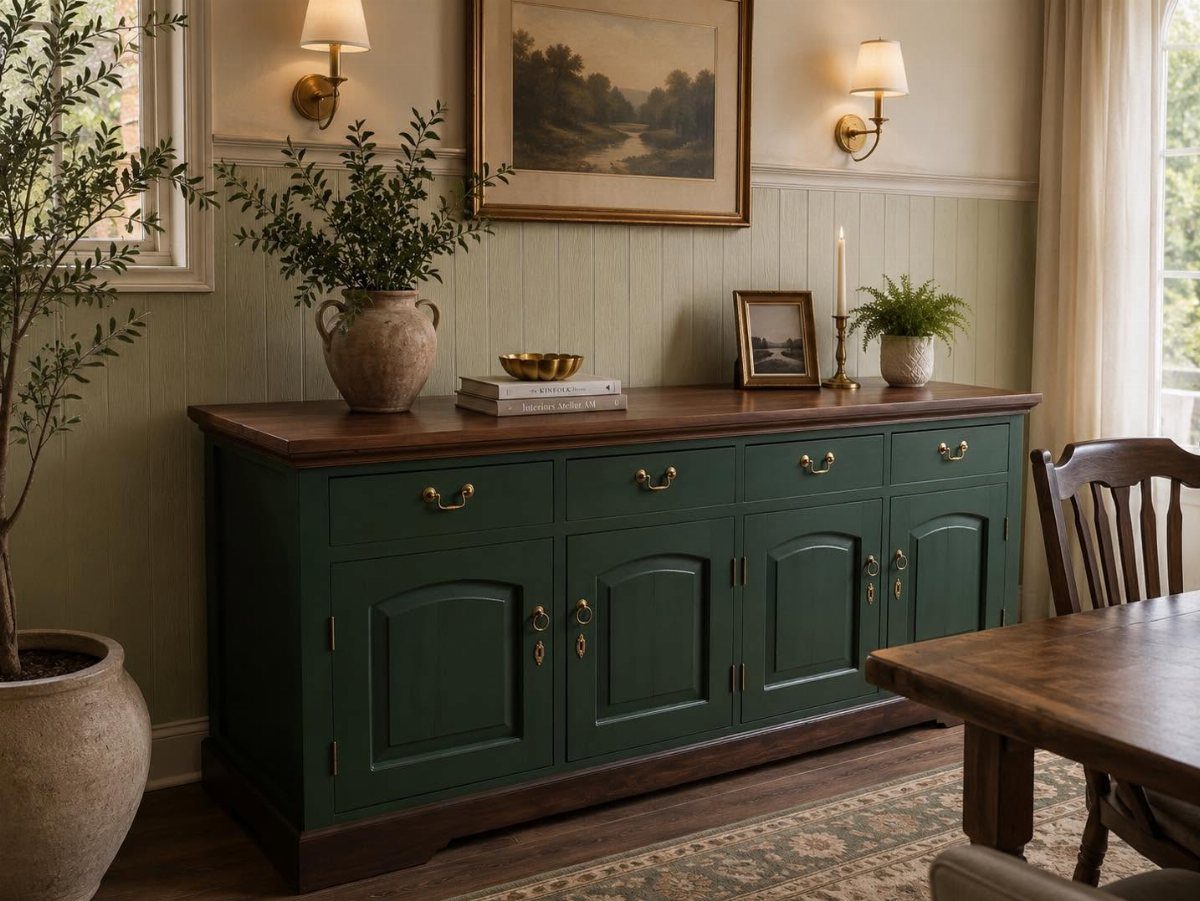
Painting gives a wood piece a new color and hides damage without the prep that stripping or sanding requires. Clean the surface, prime if the wood is bare or stained, then roll on latex paint in 2 coats.
A painted top shows wear faster than the frame. Keep the top natural wood or seal the paint with polyurethane for a finish that holds up without extra work.
2. Clean Wood Furniture

Years of handling leave a film that dulls the finish and makes fresh stain sit unevenly. Wipe the surface with mineral spirits on a clean cloth before you sand or apply anything new.
The cloth picks up grime the wood soaked in, and mineral spirits cut through wax and oil without raising the grain the way water does. Let it dry, then move on to the next step.
3. Gold Leaf Dresser Makeover

Gold leaf turns flat painted furniture into something that looks custom without requiring much skill.
Paint the base color, let it cure completely, then brush sizing where you want the leaf to sit. Press the leaf into the sizing once it turns tacky and seal the whole piece with a water-based topcoat.
Loose leaf costs less than transfer sheets and covers more area, but it tears easily. If this is your first time, transfer sheets let you place the design without fighting the foil.
4. Distressed Teal and Gold Chair
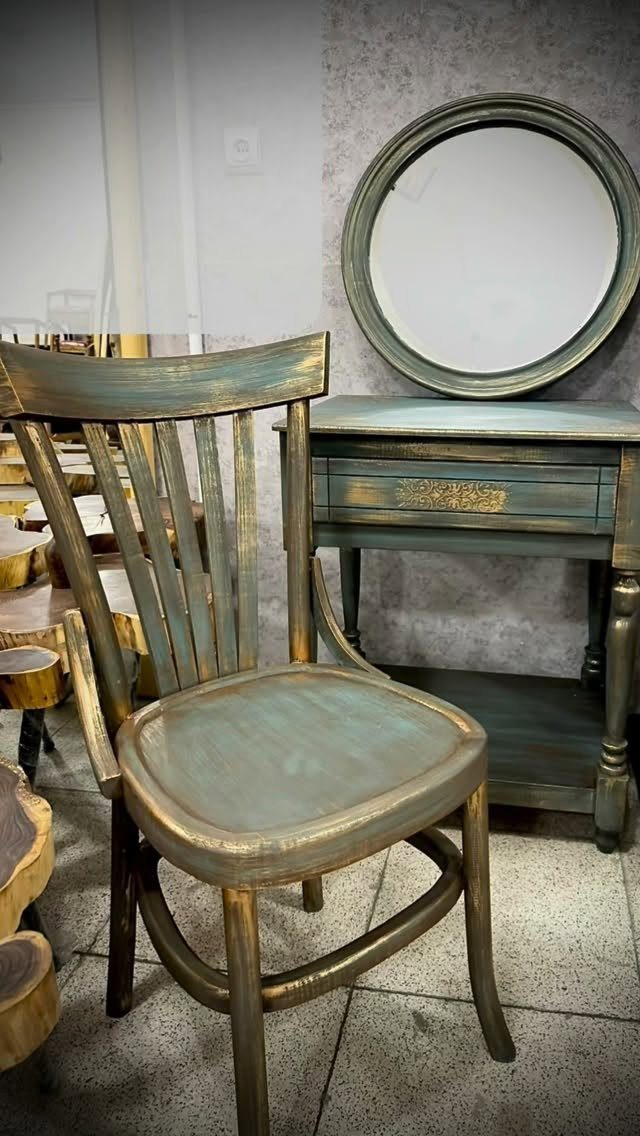
A distressed finish shows the wood or a darker base coat through the top layer, giving a piece the look of age without waiting for it.
Paint the base coat, let it dry, rub the edges and high spots with a candle or petroleum jelly, then paint the top coat. Once that dries, sand or scrape the waxed areas to reveal what sits underneath.
The wax blocks the second layer so it lifts easily. Gold shows through teal here, but you can reverse the order or use any 2 colors that contrast enough to read as separate.
5. Strip Old Varnish
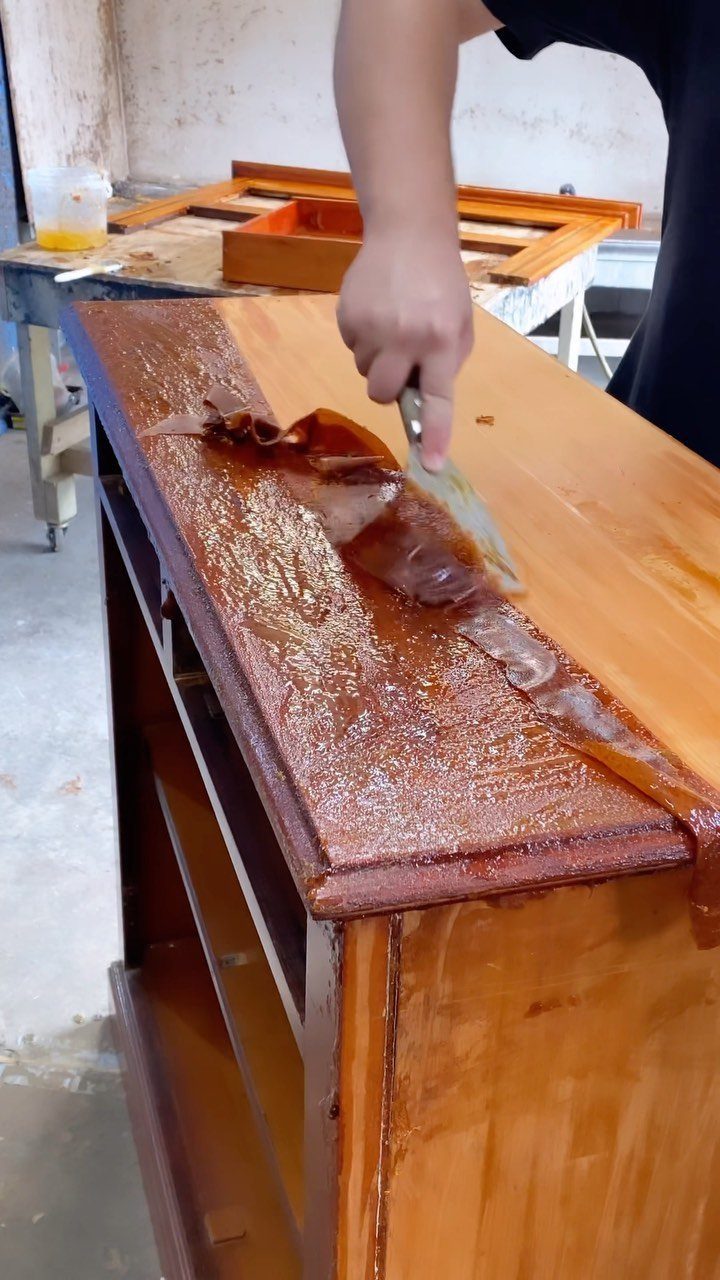
Old varnish chips and yellows, and a new coat over it will not fix either problem. Scrape the loose varnish with a metal paint scraper, then strip what remains with a chemical stripper or sand it down to bare wood.
Scraping clears the failing finish faster than sanding alone and keeps you from spreading gummy residue across the surface. Once the varnish is gone, sand smooth and apply a fresh topcoat or stain.
Don’t sand with a grit higher than 320. Sanding wood too smoothly will reduce its ability to retain stain.
6. Restain Wood Furniture

Stain darkens or changes the tone of bare wood without covering the grain.
Sand the piece smooth, wipe off the dust, then apply stain with a foam brush or roller and wipe the excess. A second coat deepens the color if the first reads too light.
Gel stain sits on top of the wood and works over existing finishes, so you can restain a piece without stripping it first. It dries thicker and hides more of the grain than liquid stain does.
7. Repair Wood Scratches

A marker filled with stain covers light scratches without refinishing the whole piece. Wipe the scratch clean, drag the tip along the damaged area, then blend the edges with a cloth before the stain dries.
Markers match common wood tones and cost a few dollars. They work on surface scratches that do not go through the finish but will not fill deep gouges the way wood filler does.
8. Navy Sideboard Makeover
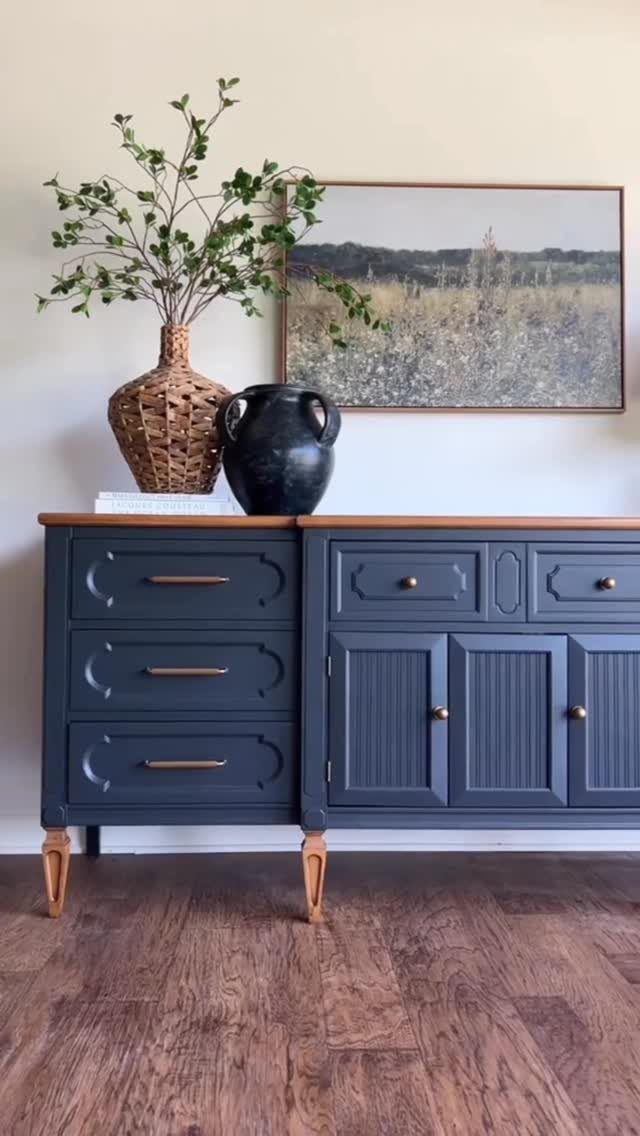
Painting the base and leaving the top natural keeps the wood grain visible where it takes the most wear.
Sand the top smooth, apply 2 coats of paint to the base, then seal the raw wood with polyurethane so water and spills bead instead of soak in.
Gold or brass hardware reads warmer against navy than chrome does. Pull the old hardware before you paint so you can cover the holes in one pass.
9. Sage Green Dresser
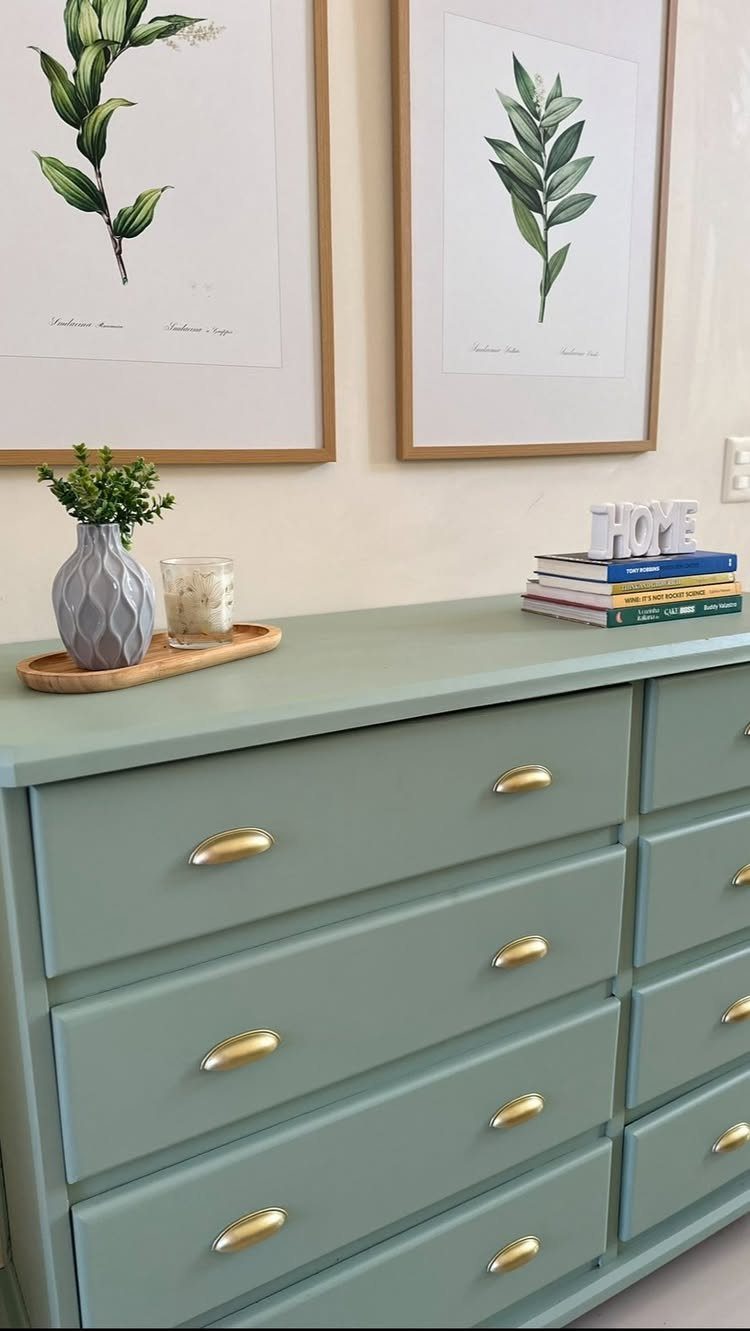
Sage reads softer than bright green and pairs with warm brass without fighting it. Let each coat dry fully before you add the next.
Sage works in a bedroom or living room where bright color feels too loud. The tone sits between gray and green, so it pairs with neutrals without disappearing into them.
10. Sculpted Texture Dresser

Textured paint or joint compound spread thick and shaped while wet gives flat surfaces dimension without carving or adding trim.
Apply the compound with a putty knife, press and pull it into peaks or ridges, let it dry overnight, then prime and paint the whole piece.
The texture is permanent once it dries, so sketch the pattern on paper before you commit. It reads heavier than a smooth finish and suits a piece that sits alone rather than one blending into a set.
Choose the Right Refinishing Method
Bare wood lets you stain directly without removing anything first. Pieces with paint, varnish or a topcoat need that layer stripped before you can change the color underneath.
If you like the existing stain and only want to refresh the surface, strip the topcoat and stop there. Sand lightly to smooth any roughness, then apply a new clear finish over the stain that is already in the wood.
A quick update that skips stripping will not match the depth or evenness of a full refinish. Paint covers most flaws, but stain shows what sits underneath, so surface prep matters more when the grain stays visible.
Allow Products to Dry and Cure
Stain needs overnight drying before you handle the piece or add a topcoat. Gel stain dries faster between coats—30 minutes to an hour—but still needs 24 hours before you seal it.
Clear finishes require a few hours of cure time between coats so the next layer bonds instead of lifting what you just put down.
Let the final coat cure fully before you use the piece; a finish that feels dry can still be soft enough to dent or mark under weight.
Rushing between coats moves uncured product around and leaves streaks or thin spots that do not protect the wood.
Frequently Asked Questions
What tools do I need to refinish furniture?
You need sandpaper or a sander, wood filler and a putty knife for repairs, brushes or rollers for applying finish, your chosen paint or stain, a topcoat like polyurene, mineral spirits and rags for cleaning, and a drop cloth or cardboard to protect your floor.
Add a scraper if you’re removing old varnish and a tack cloth to pick up dust between coats.
Do you have to sand furniture before painting?
No, but priming matters more when you skip it.
Wipe it down with mineral spirits, spot-prime any bare wood, then roll on your paint. Sanding helps when the finish is chipped or rough, but primer gives the paint something to grip when the surface is already smooth.
How do I stain wood without sanding?
Because gel stain bonds to the existing finish, you can brush it straight over old varnish or stain.
Clean the surface, spread gel stain with a foam brush, remove what doesn’t soak in, then add a protective topcoat once it dries.
The thicker consistency means it sits more on the surface and obscures grain detail compared to liquid stain.