
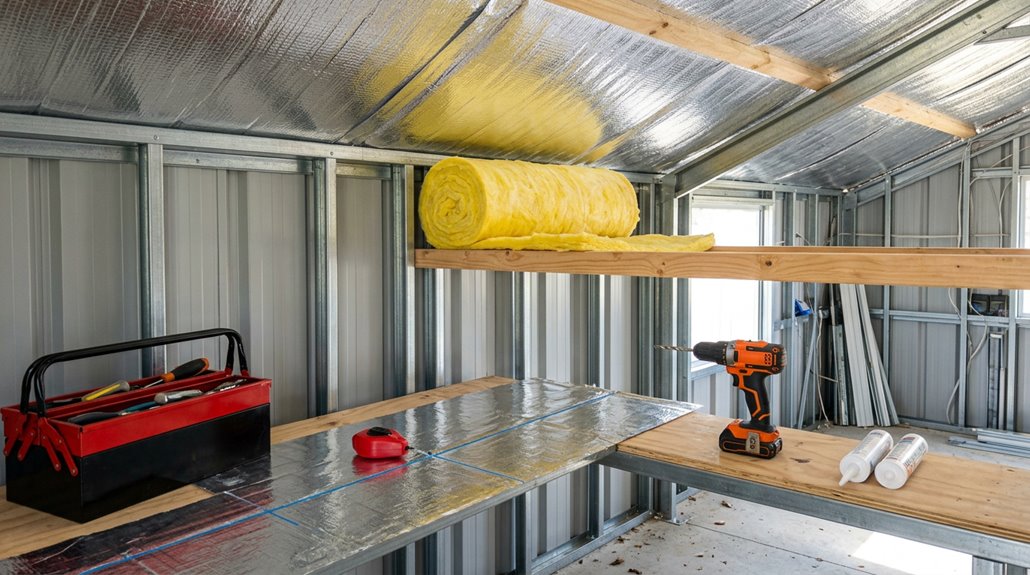
I’m gonna level with you—insulating your metal shed takes five solid steps. First, clean everything and seal those gaps like your life depends on it. Next, grab reflective insulation since Florida’s heat is relentless. Then measure, cut, and fit your pieces snugly between the frame. After that, install everything tight and seal the seams strategically. Finally, hunt down air leaks with a smoke pencil; they’re sneakier than you’d think. Follow each step to reduce your energy costs significantly.
Clean and Seal Your Shed Interior
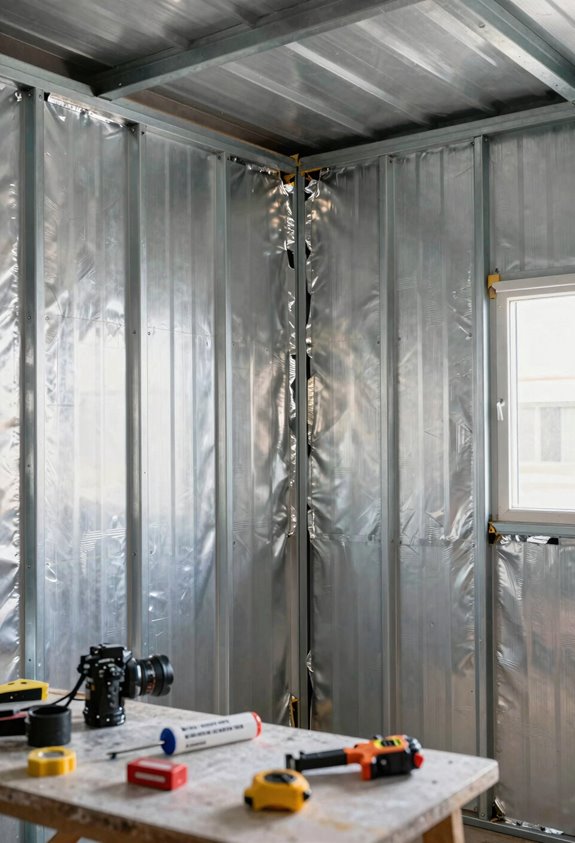
Before you even think about unfurling that insulation like you’re wrapping a burrito, you’ve gotta get your shed’s interior in proper shape. This requires more than a quick once-over with a broom. I start by removing dust and debris thoroughly. Moisture is your enemy here. Check for leaks, rust, or damp spots before prepping, since trapped moisture behind insulation ruins everything fast. Next, I grab my caulking gun and seal every gap, crack, and suspicious opening. This prevents air leaks and keeps moisture out. I also tape seams strategically. You’ll want that one-inch air gap between insulation and surfaces. This gap is crucial for preventing moisture buildup. Proper prep work now means your shed stays protected for years. This foundation prevents costly damage later.
Pick the Best Insulation for Florida Heat and Humidity
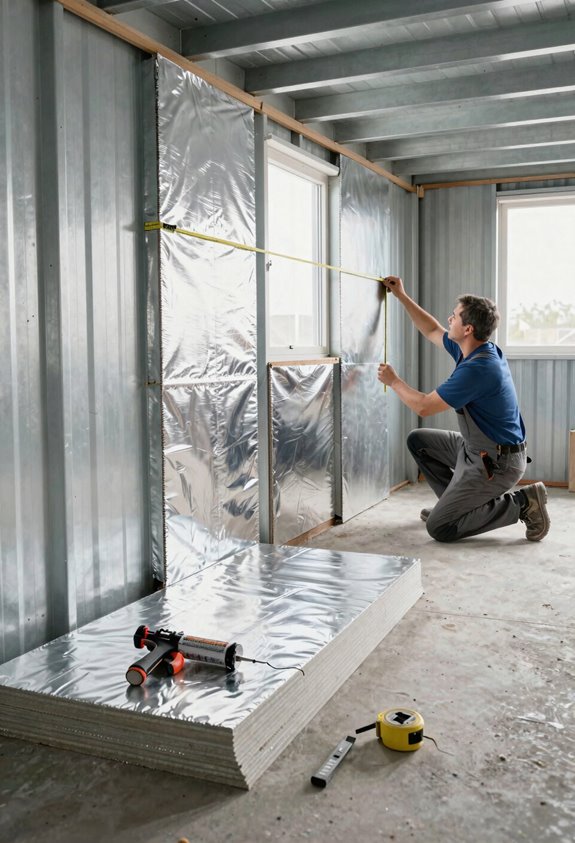
Now that your shed’s sealed up tight and ready to go, it’s time to pick insulation that actually works in Florida’s sauna-like climate. Reflective insulation like Double Bubble controls moisture and condensation brilliantly, but you’ll want foam board insulation (R-2 to R-20) for real temperature control. Combine a vapor barrier with a radiant barrier to tackle that brutal Florida heat from multiple angles. Spray foam works too, though closed-cell runs pricey. For insulation installation, layering thin reflective materials with thicker bulk insulation in your roof and walls beats any single solution. You’re basically creating a moisture-fighting, heat-blocking shield. Your wallet and comfort level will benefit this summer from this layered approach.
Measure and Cut Insulation to Fit Your Frame
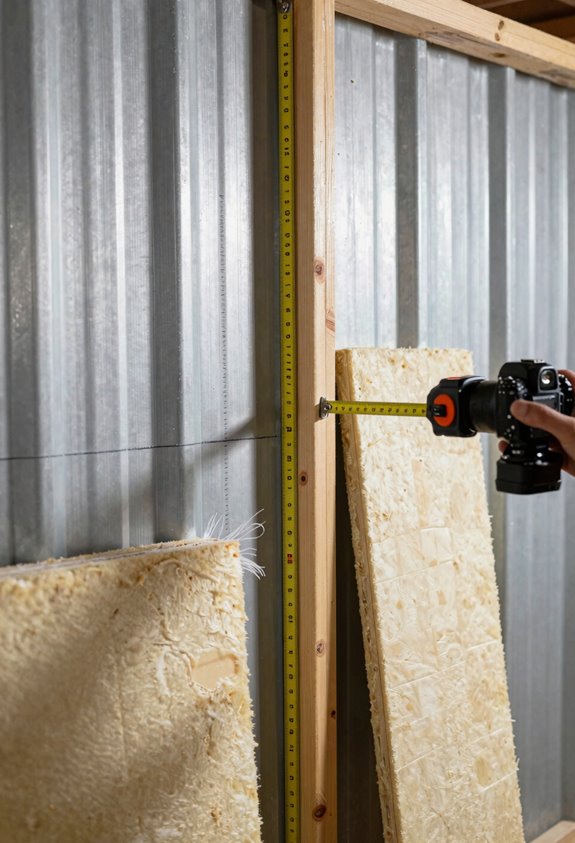
Getting your measurements spot-on is where the process becomes effective, because even the best insulation won’t function properly if you’ve got gaps big enough for heat and moisture to sneak through.
Here’s what to do to complete this step:
- Measure each framing member carefully, then cut insulation pieces with a utility knife to fit snugly between studs, eliminating air leaks that cause moisture buildup in your metal shed.
- Position reflective foil with the shiny silver side facing inward, sealing edges with tape to bounce radiant heat back inside and maximize cooling efficiency.
- Label every cut piece before installation, accounting for vents, pipes, and electrical boxes so you’re not scrambling mid-project.
Use a straightedge for square cuts. Precision during this phase prevents complications during installation.
Install and Seal Insulation Properly
How’s your insulation looking so far? Now it’s time to actually install it. Align your pieces with the framing, keeping gaps tight to prevent condensation from ruining everything. You’ll want to maintain appropriate spacing, especially with metal buildings where moisture sneaks in.
| Insulation Type | Installation Focus |
|---|---|
| Fiberglass batt | Never compress it |
| Spray foam | Needs ventilation |
| Reflective barrier | Shiny side inward |
| Foam board | Use special adhesive |
| Vapor barriers | Prevents moisture |
Insulation works properly only when sealed correctly. Air leaks compromise performance. Check everywhere: corners, seams, and edges. With spray foam especially, apply carefully and maintain strong ventilation. Reflective barriers require the shiny side facing inward. Seal everything correctly to achieve the insulation performance you need.
Find and Fix Air Leaks
Where’s all that cold air sneaking in from? It’s finding every tiny crack in your shed like water finds the lowest point.
To track down air leaks:
- Hand-feel test on windy days – Hold your palm near edges, joints, and penetrations to catch drafts that bypass your insulation material
- Smoke pencil tracing – Use incense to visualize air movement and spot leaks threatening your thermal performance
- Strategic sealing – Caulk gaps and maintain that essential one-inch air gap between insulation and interior surfaces
Before sealing, be gentle with your batts and avoid compressing them. Afterward, recheck everything. Air leaks reduce your insulation’s effectiveness and create conditions for condensation and moisture buildup. Sealing gaps properly protects your thermal performance and prevents costly structural damage.