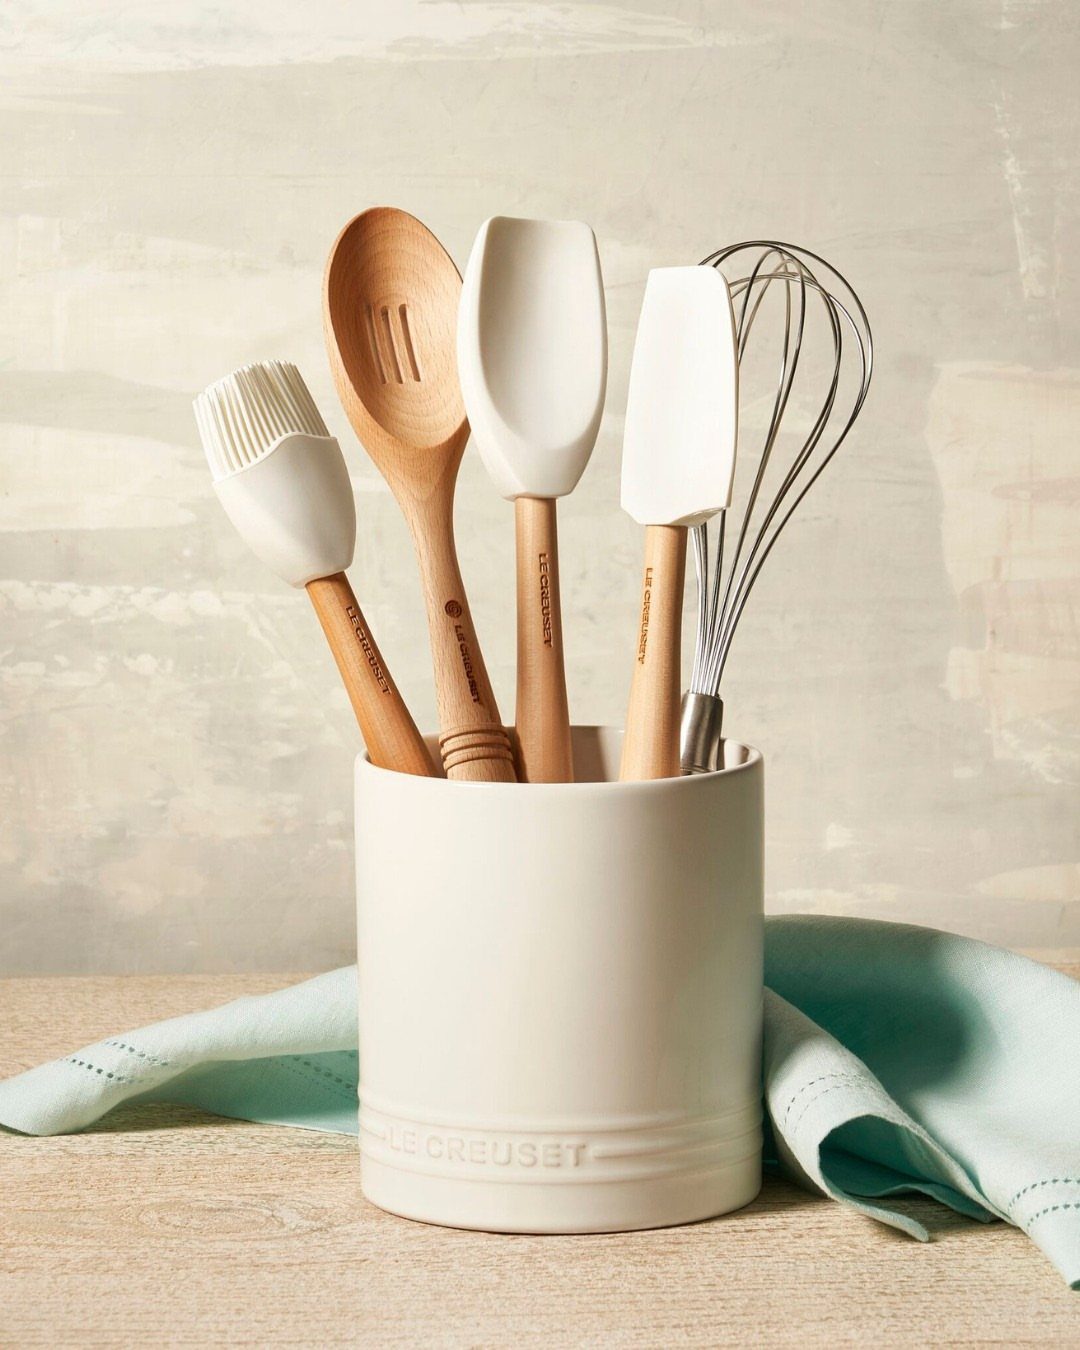
A crock on the counter, a magnetic strip over the sink, or pull-out drawers in a base cabinet all keep kitchen tools accessible, but the right one depends on how much room you’re willing to give up and which tools you reach for daily.
Spatulas and wooden spoons you use every time you cook belong upright in a crock or on a wall rack near the stove.
A $12.99 under-cabinet hanger swings out when you need it and tucks back when you don’t, keeping counter space clear. Sort tools into piles first so you know what you actually have before you buy organizers that won’t fit.
1. Drawer Organizers
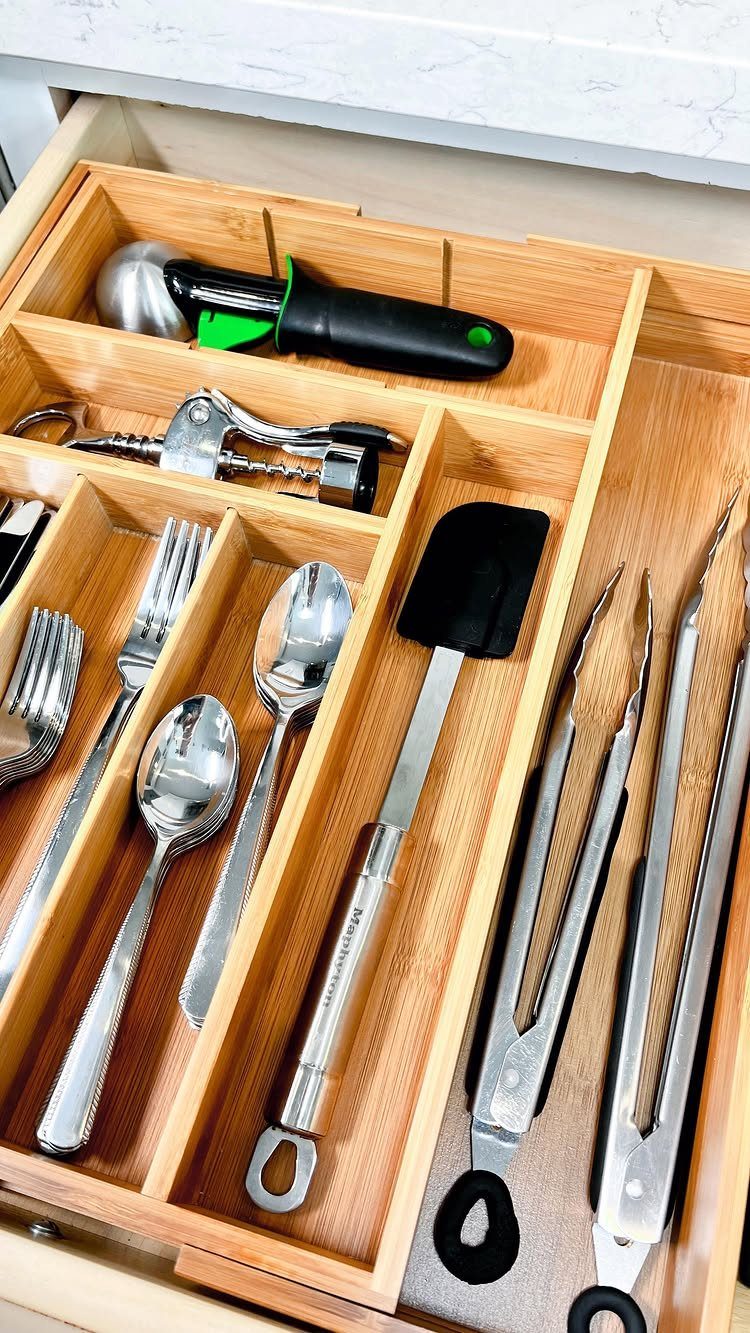
A divided tray keeps utensils sorted by type so you can find what you need without digging through a pile. Keep this setup in a drawer near the stove or prep area where you reach for tools most often.
Size the organizer to your drawer first.
Adjustable dividers let you create sections that fit your actual tools, from narrow slots for forks and spoons to wider ones for spatulas and whisks. Bamboo trays hold up better than plastic and stay in place without sliding around.
If you have a deep drawer, stack a second shallow tray on top for smaller items like measuring spoons and peelers.
2. Utensil Crocks

A crock keeps spatulas, spoons, and whisks standing upright where you can grab them without opening a drawer.
This works when you have a few inches of counter space near the stove and use the same handful of tools every time you cook.
Pick a container with enough weight at the bottom that it won’t tip when you pull a tool out.
Ceramic and stoneware hold steady; lightweight plastic rocks forward. A wide opening gives you room to fit multiple handles without crowding.
Keep it to tools you actually use daily. If the crock holds more than you actually use, the rest just take up counter space.
3. Wall-mounted Utensil Racks

A wall-mounted rail with hooks takes tools off the counter and out of drawers, hanging them where you can see every handle.
Screw the rail directly into studs or use heavy-duty anchors rated for the combined weight of your tools. Space the hooks wide enough that handles don’t overlap when everything is hanging.
This works best for tools you use daily. If something stays on the wall for weeks untouched, it belongs in a drawer.
4. Hanging Utensil Rack

A hanging rack with S-hooks holds utensils on the wall or over the sink, keeping them off the counter without needing a wide crock.
This setup works when counter space is tight and you want tools close at hand but out of the way.
Mount the rack where you can reach it from your main prep area.
Over the sink or backsplash works if you have a few inches of clearance; near the stove keeps tools right where you use them. Check that the hooks fit your utensil handles before you commit.
Hang only what you use often. A rack crowded with too many tools becomes harder to navigate than a drawer.
5. Under-cabinet Hangers

These hangers screw into the underside of a cabinet and swing out when you need them, keeping utensils off the counter but close to where you work.
The creator paid $12.99 for a 2-pack, which gives you space for multiple tools and leaves your drawer and wall free.
Install them on a cabinet where you can reach them mid-task. The swivel mechanism lets you pull the hanger forward when you need a tool and push it back out of sight when you’re done.
This works best for tools with hanging holes in the handles. Solid utensils without holes need a different solution.
6. Pegboard Storage
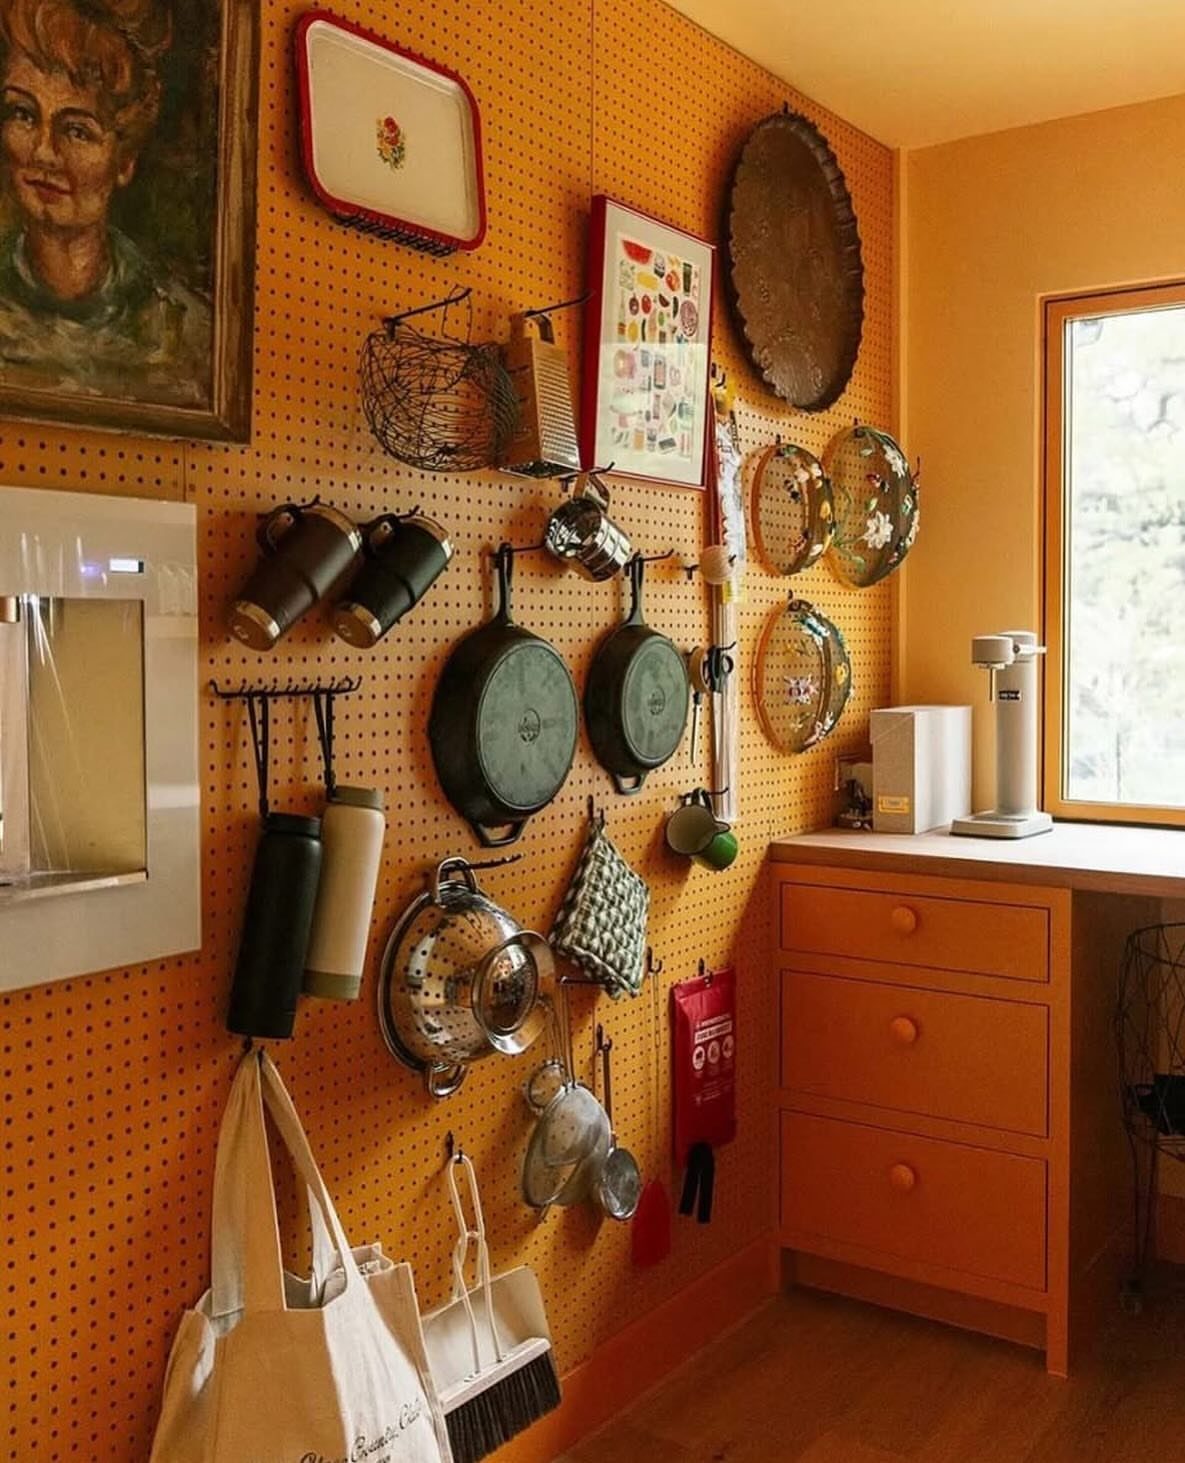
Pegboard turns an empty wall into storage that holds as many tools as you have hooks for.
Drill the board into studs, add metal pegs or hooks, and hang pots, pans, and utensils where you can see them all at once.
This setup works when you have vertical wall space you’re not using and want everything accessible without opening a cabinet. Space the pegs to fit your largest items first, then fill in around them with smaller tools.
Paint the board to match your kitchen or leave it natural if the raw look suits the space.
7. Magnetic Knife Strip

A magnetic strip holds knives and any other metal utensils with enough ferrous content to stick. Mount it on the wall near your prep area where you can reach tools without opening a drawer.
This frees up counter and drawer space while keeping blades visible and accessible. The strip works for chef’s knives, paring knives, kitchen shears, and metal spatulas or tongs that have magnetic handles.
Install it at a height where you can grab a handle comfortably. Too high and you’re reaching; too low and it crowds your workspace.
8. Piles of Like Tools
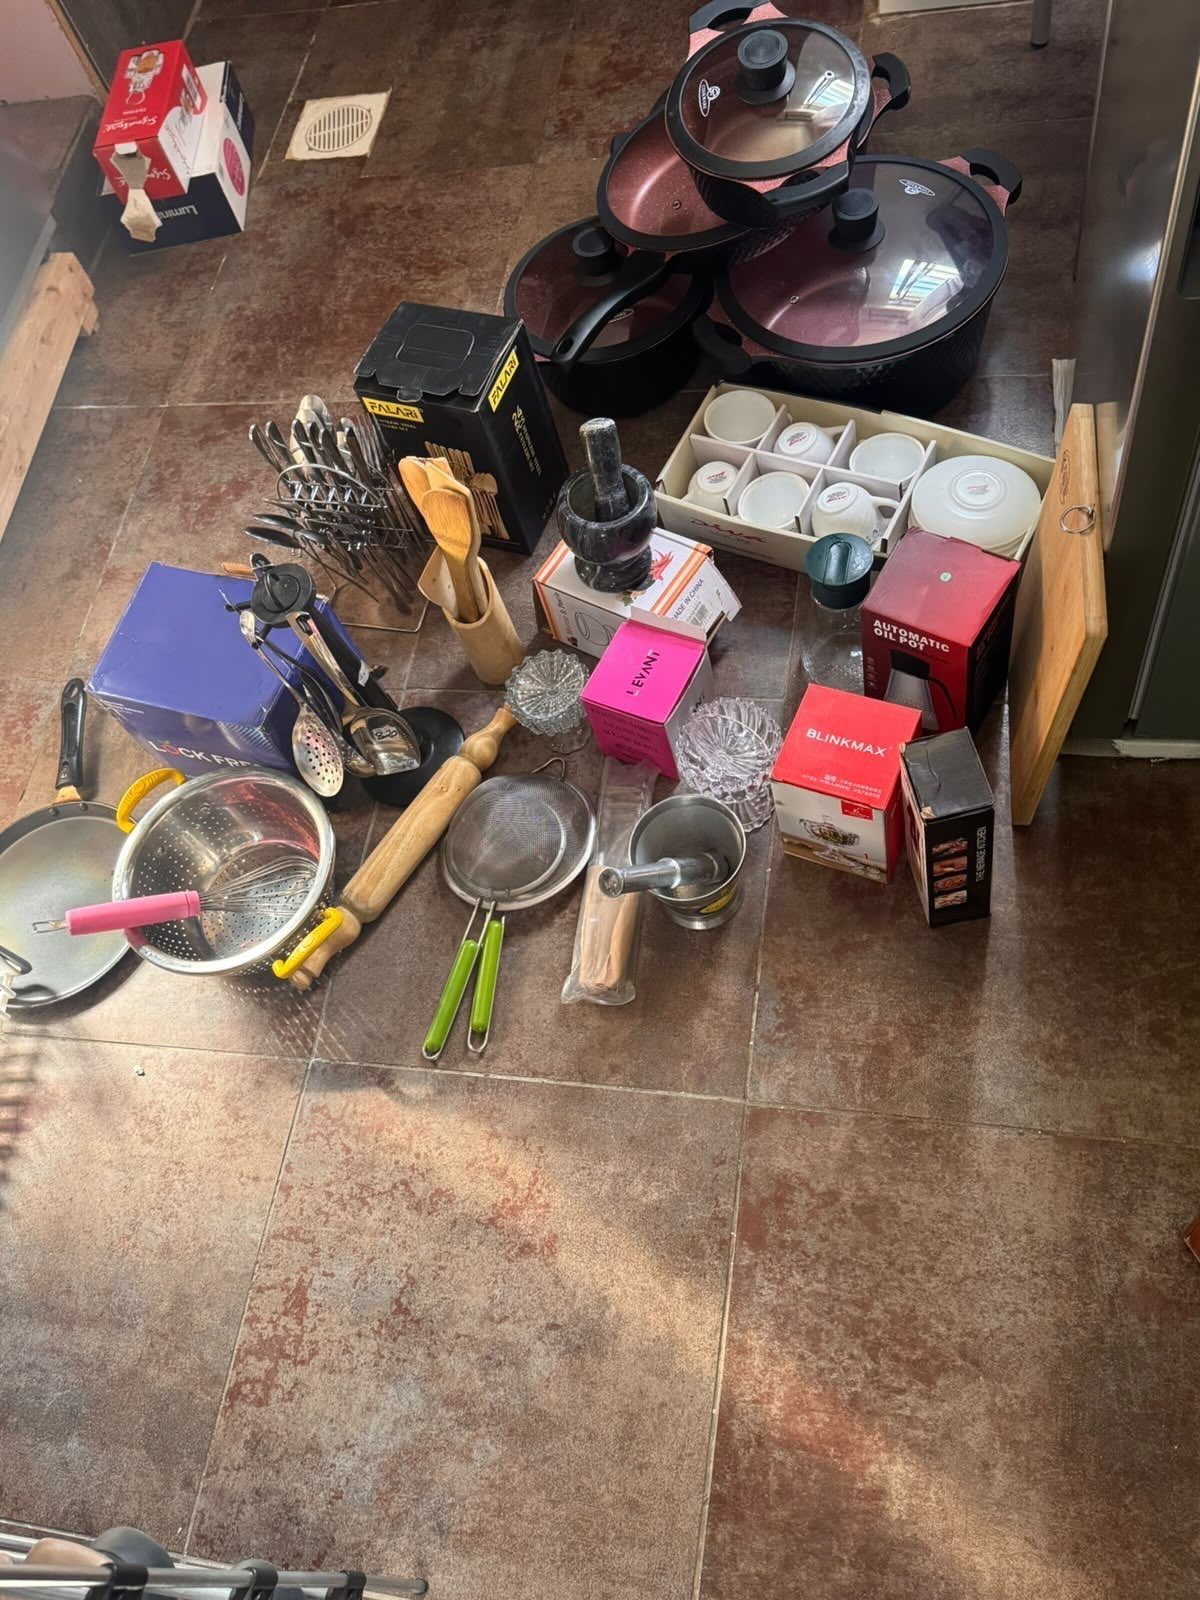
Before you organize anything, pull every tool out and sort them into piles by type. Spatulas in one pile, whisks in another, measuring cups together.
This step shows you how many of each tool you actually have and makes it clear which ones you never use.
Once you see the full count, you can decide what to keep and what size container or drawer space you need for each group.
Skip this and you’ll buy organizers that don’t fit or end up cramming tools into spaces that were never right for them.
Stewart suggests putting each type of utensil in its own crock, organized by size.
9. Wicker Basket Sorting

Separate baskets keep tool types from tangling together in one large drawer or cabinet. Put whisks in one basket, measuring cups in another, strainers in a third.
Wicker holds its shape better than fabric bins and sits flat without collapsing when you pull a tool out. Size the baskets to your drawer or shelf depth so they don’t shift around every time you open the space.
Label the baskets if you share the kitchen with someone else, or if you have more than a few and want to grab the right one without looking inside.
10. Pull-out Cabinet Organizers
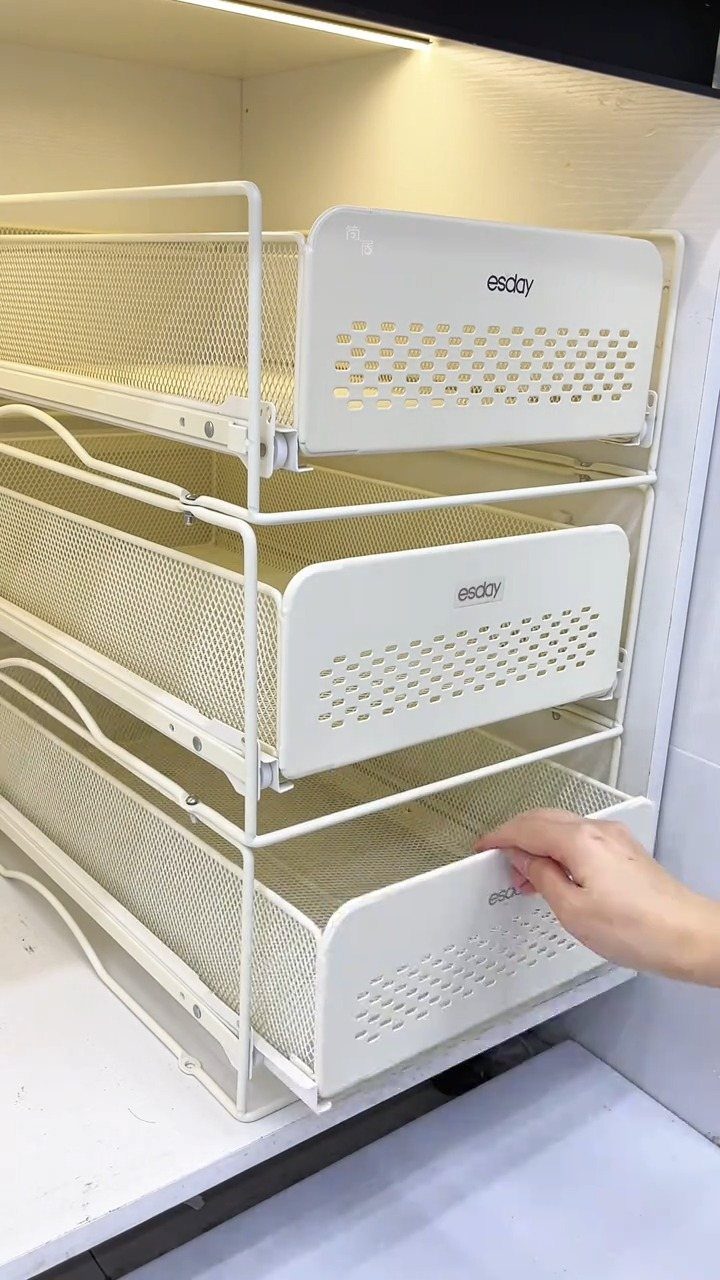
Stacked pull-out drawers bring the back of a deep cabinet forward so you don’t have to reach past 3 layers to find what you need. Install them inside lower cabinets where fixed shelves waste vertical space.
Wire or mesh baskets let you see what’s inside each level without pulling them all the way out. Mount them on drawer slides rated for the weight of your tools and supplies so they roll smoothly under load.
This setup fits cabinets deep enough that reaching the back becomes a problem.
11. Pantry Appliance Storage

A tall pantry cabinet with adjustable shelves gives you room to store small appliances upright instead of stacking them in a lower cabinet where you have to move one to reach another.
Set the shelf heights to fit your tallest appliance, then add shorter shelves above and below for containers and smaller tools.
Keep the appliances you use weekly on the most accessible shelves, between waist and shoulder height. Seasonal items go higher or lower.
If the pantry shares space with food storage, group appliances on one side so you’re not shifting cans to reach a blender.
12. Wall Wire Baskets

Wire baskets screwed into the wall above the sink keep dish soap, sponges, and frequently used utensils off the counter but within arm’s reach while you’re washing dishes or prepping food.
Mount them low enough that you can see inside without standing on your toes, and space multiple baskets far enough apart that handles don’t overlap between them. The open wire lets water drain if you store wet utensils after washing.
This works when you have a few inches of wall space above the sink that isn’t blocked by a window or cabinet.
13. Under-shelf Utensil Hooks
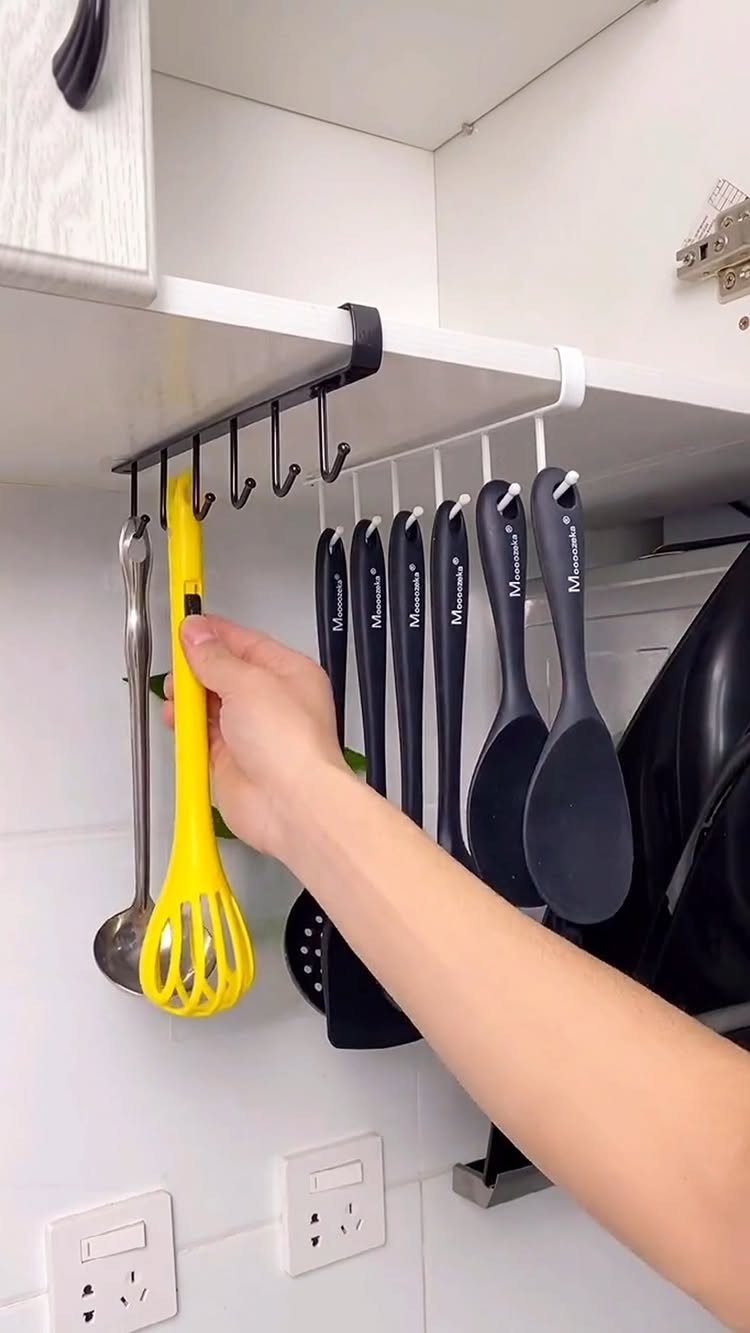
Hooks that slide under a shelf hang utensils without drilling into the wall. The rack fits cabinets or shelving units where the underside is exposed and you have a few inches of clearance below.
Choose a rack wide enough to space your most-used tools without overlapping handles. Metal hooks hold more weight than plastic and stay put once you slide them into position.
This works when wall space is already taken but you have shelf edges that go unused.
14. Kitchen Tools on a Wall Rack

A rack screwed to the wall holds spatulas, spoons, and kitchen shears in one spot where you can reach any of them mid-task. Mount it near the stove or prep counter so tools stay within reach without cluttering the workspace.
Pick a rack with slots or hooks that fit the handles you use most. Wood and metal both hold up to regular use; plastic can crack under the weight of heavier utensils.
Keep the rack to tools you actually grab while cooking. Storage for storage’s sake just fills the wall.
15. Countertop Utensil Holder

A holder on the counter keeps wooden spoons, whisks, and spatulas standing upright where you can grab them without opening anything.
This fits kitchens where a few inches of counter space near the stove is easier to give up than drawer room.
Pick a container tall enough that handles stay upright and wide enough at the base that it won’t tip when you pull a tool out. Ceramic and stoneware hold steady; lightweight materials rock forward.
Fill it only with tools you use regularly. If something sits untouched for a week, it belongs in a drawer.
16. Organized Kitchen Shelves
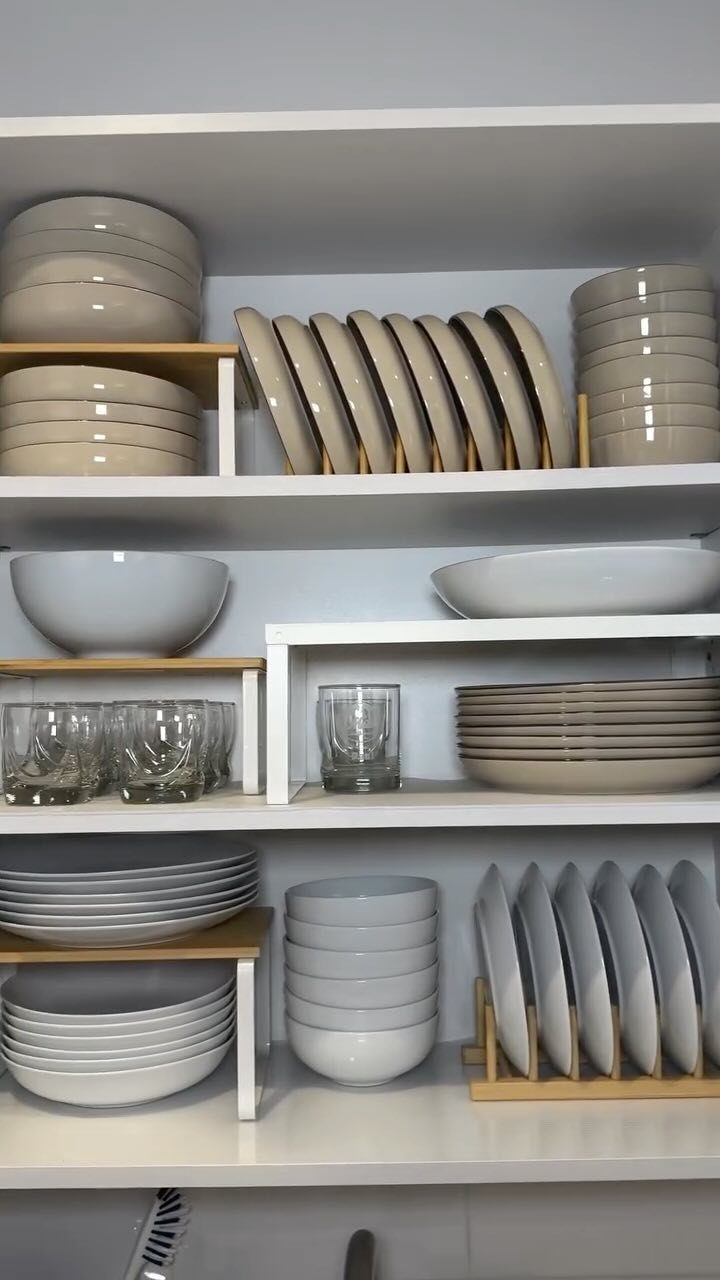
Stacking plates, bowls, and glasses by type on open shelves keeps them visible and easy to grab. Group like items together so you’re not hunting for a matching plate or moving stacks to reach the one you need.
Set taller stacks toward the back and shorter ones forward so you can see everything without pulling items down. Plates stacked tight under a low shelf catch the rim when you try to lift them.
This works when you have wall space for shelves and prefer quick access over hiding everything behind cabinet doors.
17. Cabinet Shelf Arrangement

A shelf riser inside the cabinet doubles your storage height by lifting one row of dishes above another.
Install the riser first, then measure where mugs will hang so handles don’t block the dishes below.
Match Storage to Use
Spatulas, wooden spoons, and tongs you use multiple times a week belong in those spots.
Tools you use once a month or less can go higher up or farther back. A turkey baster, specialty whisks, or extra serving spoons fit fine on a top shelf or in a cabinet you have to step to reach.
A magnetic strip works for more than knives. Stainless steel spoons, ladles, and whisks vary: some stick to a magnetic strip, some don’t, depending on the alloy.
If you share the kitchen, ask what the other person reaches for most often and make sure those tools land somewhere both of you can get to without moving anything else first.
Frequently Asked Questions
How can I organize my kitchen utensils effectively?
Keep your most-reached-for spatulas and spoons in a divided drawer next to the cooktop, or stand them upright in a countertop container so nothing blocks your hand when you need one mid-stir.
Tools you use less often go in deeper drawers with stacked organizers or on wall-mounted hooks. Group each type together so you’re not hunting through a pile every time you need a whisk or spatula.
How do I decide where to put things in my kitchen?
Store tools where you actually use them. Spatulas and spoons you reach for while cooking belong near the stove, either in a drawer you can open mid-task or standing in a crock on the counter.
Place measuring spoons and prep knives within arm’s reach of your main counter workspace, then move specialty tools you pull out only a few times a year to upper shelves or back corners.
How can kitchen tools be better organized?
Group like items together in separate containers or drawer sections so whisks stay with whisks and measuring cups stay with measuring cups.
Pull out broken or worn tools and get rid of them, then store what’s left in baskets, dividers, or on hooks so each type has its own spot and you’re not digging through a jumble to find what you need.