
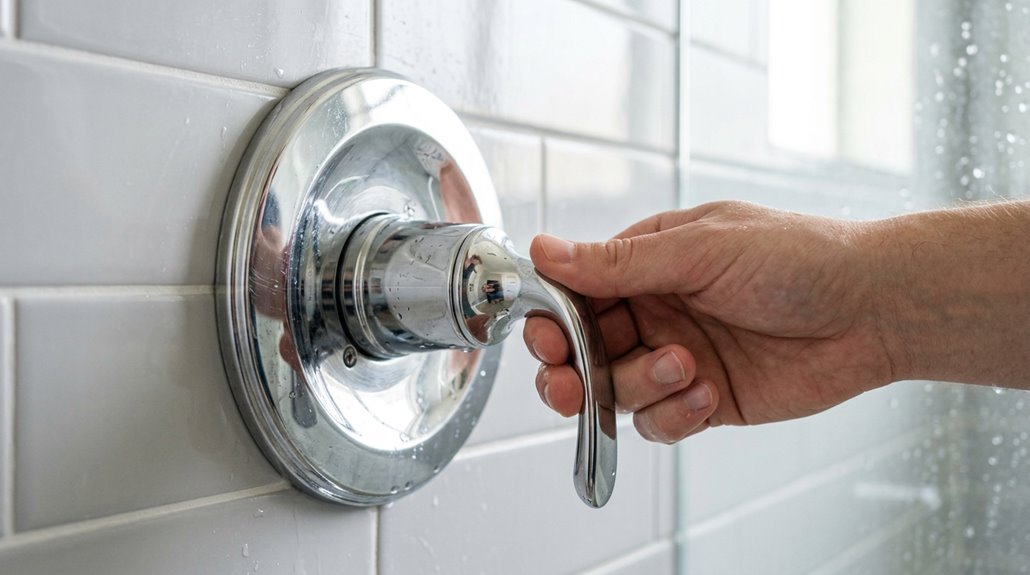
First, shut off your water and locate that tiny set screw, which is typically found near the handle’s base. Remove the handle, then pry off the round cover protecting your valve. You have three temperature zones: A is hottest, C is coldest, and B is the middle ground. Rotate that plastic sleeve to align with position A, reassemble everything, and test. If you’re still getting scalded or frozen out, you can make further adjustments to dial in the correct temperature.
Know Your Pfister Valve’s A-B-C Temperature Zones
Your Pfister valve contains three temperature control zones: A, B, and C.
Zone A provides the coolest setting, mixing in the most cold water. Zone B represents the middle ground with balanced temperature output. Zone C delivers the hottest setting with maximum hot water output.
The shaft inside your valve aligns with whichever letter zone you’re currently using. When your handle points at C, you’re operating at the hottest possible mix. Understanding these zones gives you direct control over your water temperature without guesswork.
Shut Off Water Before You Start
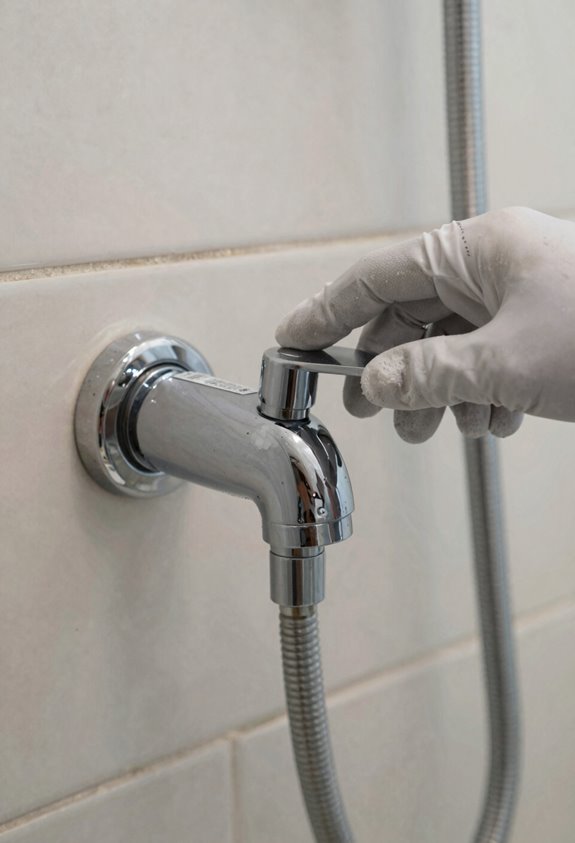
Before you touch anything on that Pfister valve, you’ve got to shut off the water supply. This step prevents about 99% of the mistakes that happen during faucet work. Look for a dedicated shut-off valve near your shower first. If you find one, use that instead of killing water to your whole house. Can’t locate it. Head to your main water meter or service panel and shut it off there. Once you’ve closed that valve, test it by turning your shower handle to any position. Zero flow means you’re ready to proceed. Open a nearby faucet to relieve pressure, grab a labeled container for catching residual water, and you’re set to disassemble without creating a significant mess.
Remove the Handle to Access the Adjustment Mechanism
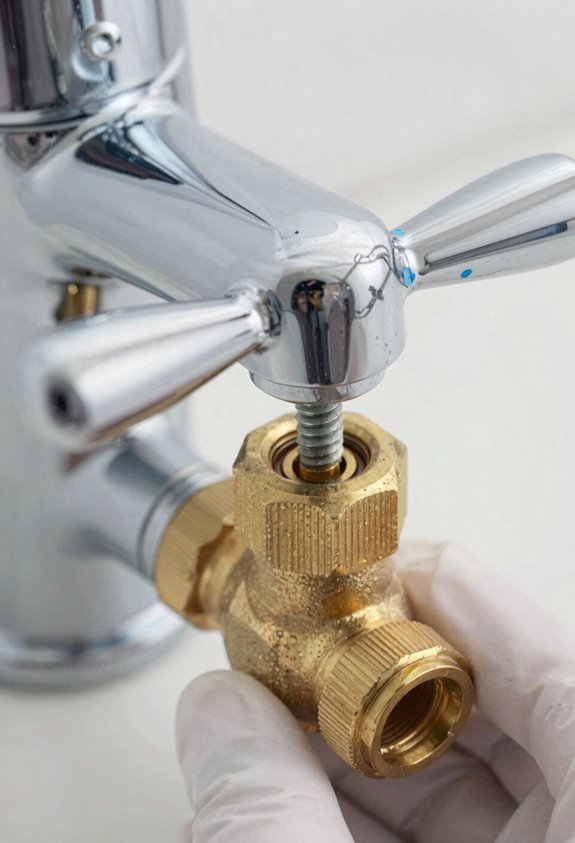
Now I’ll show you how to get inside this thing. First, locate the set screw, which is the tiny fastener holding your handle in place. About 80% of Pfister handles have one hiding somewhere near the base or under a cap. If you can’t spot it anywhere, look for a chunky round cover plate that’s either screwed on or glued down very tightly. Take your time loosening whatever’s keeping that handle in place, because forcing it will crack the plastic and damage the fixture.
Locating The Set Screw
Where’s that pesky set screw hiding? On most Pfister fixtures, it’s tucked under the decorative handle cap or a tiny plastic plug. Check the handle’s underside first. If you’re coming up empty, look behind that small cap for a recessed hex or Phillips screw. Once you spot it, grab your appropriate wrench or screwdriver and loosen it completely. Don’t strip it out.
Pull that handle straight out toward you. It should detach from the cartridge shaft smoothly, revealing all the internal adjustment components underneath. If it won’t budge after loosening the set screw, you might need to remove the escutcheon first. Take your time without forcing anything.
Accessing Internal Adjustment Components
With that handle finally off, you’re already halfway to victory. Next, locate the large round cover area that’s either screwed down or twisted on like a jar lid. This cap protects your adjustment mechanism. Carefully pry it off using gentle, non-forcing techniques. Use finesse rather than force.
| Component | Location | Purpose |
|---|---|---|
| Round Cover | Direct under handle | Protects internals |
| Hot-Water Stops | Inside cover area | Controls temperature limits |
| Adjustment Cam | Central mechanism | Fine-tunes water heat |
Once exposed, you’ll see the internal stops and cams controlling temperature. Keep everything stationary; do not turn valves yet. This inspection stage prevents water damage and allows for smooth adjustments.
Access the Large Round Cover Over the Valve Body
The large round cover sitting on top of your valve body is the gatekeeper to internal components. It is fastened in one of three ways: screw-secured, glued down, or twisted on tight. Before removing it, check around the edges for hidden set screws or plastic clips. Prying blindly could crack plastic or bend metal parts. Once you identify how it is actually fastened and remove it carefully with even pressure, you will have access to the hot-water adjustment stop and internal components.
Identifying Cover Fastening Method
How’s that big round cover actually holding on—with screws, a twist-fit, or pure stubbornness? You need to figure out the fastening method before you accidentally crack something. Here’s how to do it.
First, grab a flashlight and inspect carefully:
- Look for visible screws around the edge or periphery; they’re usually small and easy to spot
- Check for twist-fit or snap-fit clips that might be hidden underneath the cover itself
- Feel for a hidden set screw or clip that could be tucked somewhere sneaky
- Test gently by twisting; if it budges slightly, it’s probably twist-fit. If it doesn’t, screws are likely involved
Once you’ve identified the method, you can proceed with confidence. Use the right tool—flat blade or plastic pry tool—and avoid forcing anything. Patience prevents damage to your faucet’s finish.
Removing The Valve Cover
Alright, now you get to touch something. Make absolutely sure there’s zero water pressure. Check twice. Now, grab that large round cover and gently test it. Is it screwed down? Try turning it counterclockwise with a screwdriver; loosen those fasteners evenly so nothing warps. Not budging? Look closer for hidden clips or mechanisms lurking underneath.
Don’t go full caveman and pry aggressively. You’ll trash the cartridge, and that’s an expensive mistake. Work slowly, feel for resistance, and respect what you’re doing.
Once it comes free, you’ve opened access to those internal adjustment components. Keep track of that cover’s orientation though. Reassembly’s way easier when you remember how it sat originally.
Diagnose: Is Your Valve Stuck or Just Misaligned?
When your Pfister shower handle won’t budge, or worse, moves but does nothing to change your water temperature, you’ve got a real mystery on your hands.
Not all valve problems are created equal. You need to figure out whether you’re dealing with a truly stuck cartridge or just a misaligned one.
- No movement at all? Dried grease or debris has seized your internal stops
- Handle spins freely but temperature stays flat? Your sleeve’s misaligned with those stops
- Visual clue: Check if the plastic sleeve’s locked in position A, B, or C without temp changes
- Next step: Remove and inspect that cartridge and retaining clips closely
This distinction matters because cleaning solves one problem, but misalignment requires complete replacement.
Clean the Valve Interior If the Cartridge Is Stuck
So your cartridge is actually stuck, not just playing dead but genuinely seized up like an old padlock that’s been sitting in the rain for three winters. I need to remove that cartridge first to inspect what’s really going on inside. Usually, dried grease or frosting buildup on the valve walls is the culprit causing all this stiffness.
I’ll grab a copper-fitting pipe cleaning brush and carefully scrub away any hardened debris clinging to the interior surfaces. This stuff seriously impedes movement. However, I won’t go into aggressive mode because plastic components crack easily, and cracks mean leaks, which is not the outcome we’re looking for.
After cleaning thoroughly, I’ll lightly lube the internal stops, reinstall that cartridge, and test it. Smooth operation returns.
Remove the Plastic Sleeve From the Cartridge Shaft
Now I’ll show you how to get that stubborn plastic sleeve off. You’ll need to locate the retaining set screw (usually a tiny hex bolt that’s easy to miss), loosen it, and then slide that sleeve right off the cartridge shaft, making sure you’re aligning it properly so everything clicks back into place later. Once that sleeve’s off, you’ve got direct access to adjust those internal stops and dial in your perfect temperature settings.
Locating The Retaining Set Screw
Where’s that set screw hiding. It requires careful inspection of your shower faucet handle. Here’s what you’re hunting for:
- Check the handle’s front face for a visible set screw
- Inspect the back and underside of the handle area carefully
- Look behind the large round escutcheon cover, which often conceals it
- Examine any grooves or indentations where a fastener might hide
Once you spot it, you’ve found the component you need. That tiny set screw provides access to everything underneath. Remove the large escutcheon if needed; it’s usually hiding the real prize. After you loosen that set screw, the handle slides straight off. Then you can adjust that plastic sleeve and get your water temperature dialed in correctly.
Sliding Sleeve Alignment Procedure
Gently remove the sleeve from the cartridge shaft without forcing it. If the sleeve is stuck, remove the cartridge to check for dried grease or stiffness that may be causing resistance. Once loose, rotate or slide the sleeve until it aligns with position A, your desired temperature setting. Reassemble all components carefully, ensuring proper seating to prevent leaks.
Realign the Shaft to Your Desired Temperature
How’d you like to actually get the water temperature you want instead of playing Russian roulette every time you shower?
I’m gonna walk you through realigning that shaft so your handle finally does what it’s supposed to do. Here’s what we’re tackling:
- Locate the internal stops inside your valve body, these are your temperature guardrails
- Rotate the sleeve until positions A (hot), B (mid), and C (cold) line up perfectly with your handle markings
- Remember: C sits at the coldest end, A at the hottest
- Gently test water flow only after confirming everything’s secure
When those alignment points click into place, you’ll notice immediate improvement in temperature control. No more guessing games. Just smooth, predictable adjustments that actually match where you’re pointing that handle.
Lubricate and Reassemble the Cartridge
Now that you’ve got your handle pointing exactly where you want it, let’s address why your shower might still feel like you’re fighting against a stubborn valve. All that perfect alignment won’t matter if your cartridge moves like it’s stuck in molasses.
First, inspect the valve body for dried grease buildup. Grab a pipe-cleaning brush and scrub away frosting and oil residues inside. This step alone can improve smoothness significantly. Re-lubricate everything with silicone-based grease. Skip petroleum products; they’ll damage your plastics.
Reassemble carefully, making sure retaining clips seat properly and sleeve alignment matches your A position. Test the handle’s range without water running. If the handle operates smoothly, the repair is complete.
Reinstall the Cover and Handle
Reinstall the Cover and Handle
When everything comes back together, follow these steps:
- Align the cover with the valve body, securing any screws or clips so that decorative plate stays put
- Reattach the handle after confirming shaft alignment, then tighten that set screw firmly without slippage
- Reseat the cartridge and hot-water adjustment parts before reinstalling the cover over everything
- Verify the large round cover is screw-secured or snapped in place, protecting internal parts during operation
Once reassembled, gently operate the handle and check that water stays within the desired temperature range. The cover should sit flush against the wall with no gaps or movement. Your faucet will work as intended after proper reassembly.
Test Water Temperature and Make Final Adjustments
After you’ve got everything back together and screwed in place, it’s time to test whether your adjustments actually worked. Turn on the water slowly and let it run for about 30 seconds. Feel the temperature with your hand, not your face. Is it hitting that sweet spot you wanted? If it’s still too hot or cold, you can absolutely fine-tune it. Turn off the water, remove the handle again, and make tiny adjustments to that internal stop. We’re talking millimeter movements here. Then reassemble and retest. Most folks nail it within two or three tries. Run it a few more times to confirm the temperature stays consistent.
When to Replace the Cartridge Instead of Adjusting
What if you’ve tweaked that internal stop a dozen times and your shower’s still doing its hot-and-cold dance like it’s got a mind of its own? Sometimes adjustment alone won’t work. Consider replacing the cartridge instead in these situations:
- The hot and cold stops are visibly cracked or worn, making proper timing impossible
- You’re seeing hardened grease or visible damage to the cartridge seals that cleaning won’t fix
- Even after replacing the cartridge, temperatures stay unpredictable and imbalanced
- Your Pfister model requires a specific compatible cartridge that your current one doesn’t match
Knowing when to pivot from tweaking to replacing saves you hours of frustration. The cartridge eventually reaches the end of its functional life.