Look, laminate in bathrooms is risky, but totally doable. You’ve gotta pick water-resistant laminate like Beauflor Oterra, seal every single seam with waterproof caulk, and protect edges with tile or molding. Run your exhaust fan for 30 minutes after showers, keep humidity under 60%, and wipe standing water immediately. within minutes. Add strategically placed rugs as your first line of defense. Skip these steps, and you’re basically inviting mold to take hold. Want the real details on making this work?
Is Laminate Actually Suitable for Bathroom Floors?
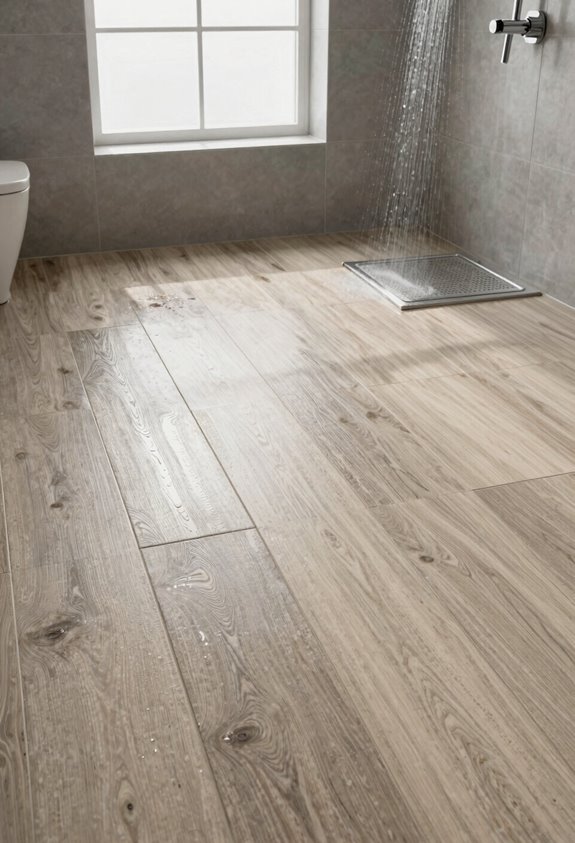
So laminate flooring in bathrooms is like bringing a sponge to a water fight. Traditional laminate carries significant risks in wet environments. Water-resistant options like Beauflor Oterra come with serious warranties, including 72-hour standing water coverage that provides genuine protection.
LVP and LVT are your best choices for bathroom installation because those interlocking planks prevent moisture from seeping under to your subfloor. If you’re set on laminate, choose one with a tight locking system, seal those edges with waterproof silicone caulk, and add edge tiling for extra defense.
The key to success involves pairing whatever flooring you choose with solid humidity management and quick cleanups. Standing water causes the most damage. With proper maintenance and installation practices, you can successfully use laminate in bathrooms.
Why LVP and LVT Outperform Laminate in Bathrooms
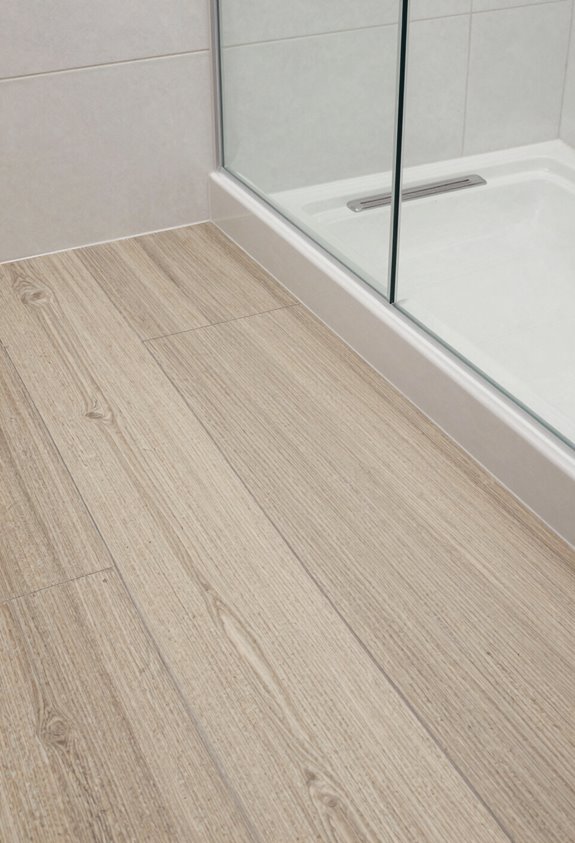
While laminate has some benefits with proper sealants and edge protection, LVP and LVT are superior choices for bathrooms. LVP delivers moisture resistance that laminate cannot match, especially with interlocking designs that prevent water from reaching your subfloor. LVT mimics tile perfectly without the grouting hassle or high installation costs. You get wood-look or tile-look aesthetics without the moisture risks of real materials. Maintenance is simple, requiring only regular wiping. LVP and LVT provide the optimal balance of durability, affordability, and water damage protection. Your bathroom flooring should not depend on constant vigilance against water infiltration.
If You Choose Laminate, Select Water-Resistant Products With Tight Seals
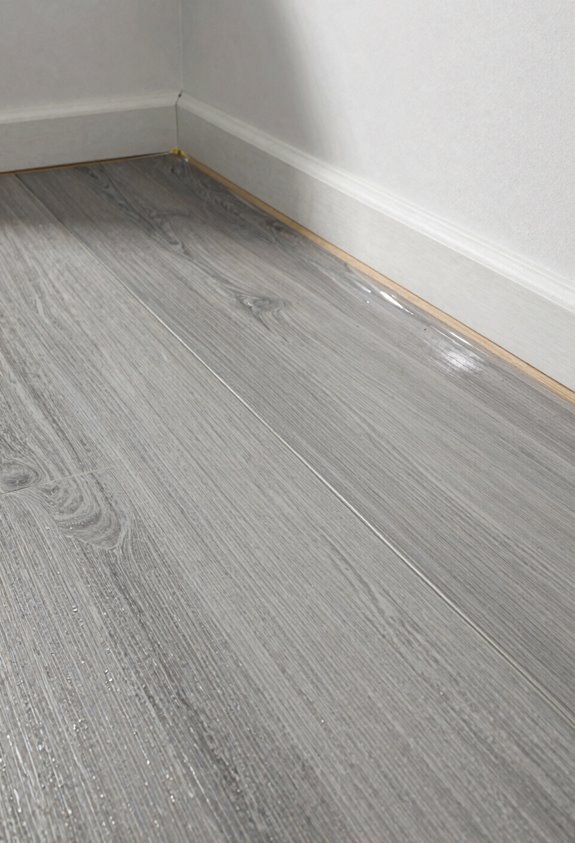
Look, if you’re set on laminate for your bathroom, then you need to go with water-resistant laminate options that can handle moisture without falling apart like a soggy cereal box. Grab products with a tight locking system and interlocking planks that prevent water from sneaking underneath. Check that it’s rated specifically for bathrooms, not just general use. I’d recommend Beauflor Oterra, which has a 72-hour standing water warranty. Add an underlayment for extra moisture sealing and don’t skip the silicone caulk at edges. These steps will keep your bathroom floor protected and looking fresh.
Seal Every Seam With Waterproof Silicone Caulk
Why’d I skip the caulk on my first bathroom project? Big mistake, homie. I learned the hard way that laminate bathroom waterproofing demands silicone caulk sealing at every single seam.
Water sneaks under unsealed edges like a ninja, destroying your investment. Silicone caulk stays flexible, moving with humidity and temperature swings without cracking. You need to protect transitions to walls, baseboards, vanities, and tubs, all moisture hotspots.
| Location | Why It Matters |
|---|---|
| Wall seams | Water splashes accumulate |
| Toilet base | Overflow risks increase |
| Tub transitions | Constant moisture exposure |
| Baseboard edges | Hidden damage occurs |
Skipping caulk voids your warranty and invites floor failure. This step is non-negotiable. Verify compatibility with your retailer before starting.
Protect Bathroom Edges With Tile or Molding
You’ve sealed every seam with silicone caulk, but caulk alone won’t protect your bathroom laminate from moisture damage at its edges. Water penetrates vulnerable spots where it meets fixtures and flooring. Line these areas with hard tile, molding, or baseboard trim to create an effective moisture barrier. This is your approach:
Caulk alone won’t protect bathroom laminate edges. Water penetrates vulnerable spots where surfaces meet fixtures and flooring, requiring hard tile, molding, or trim barriers.
- Install decorative tile or molding along tub, shower, vanity, and toilet edges to create a solid moisture barrier
- Use these materials to cap exposed laminate flooring ends, preventing water from reaching your subfloor
- Seal joints with silicone caulk where tile meets laminate for maximum bathroom edge protection
This combination protects your laminate from moisture damage and creates a clean visual transition between surfaces.
Run Exhaust Fans to Control Moisture
Run that exhaust fan during and for at least 30 minutes after every shower if you want your laminate to last. Keep your bathroom humidity below 40–60% relative humidity. Use a hygrometer to check, because moisture creeping into those laminate seams will cause damage. If you can crack a window too, that cross-ventilation will remove moisture faster than the fan alone. During the first few weeks after installation, run that fan continuously on high to let the space acclimate and remove any lingering dampness.
Humidity Control During Showers
Moisture is your laminate’s worst enemy. It will warp your floors faster than you might expect. Here’s what to do to keep your bathroom humidity control in check:
- Run your exhaust fan during every shower without exception
- Keep it running 15–30 minutes after you’re done, depending on your bathroom size
- Pair exhaust fan ventilation with quick water cleanup to prevent seeping into seams
Use a hygrometer to monitor your humidity levels. Keeping them under 60% is the optimal range. When you skip this routine, your laminate flooring moisture problems escalate quickly. Open a window too if you can. Your laminate’s longevity depends on staying dry, and preventing damage is far more effective than fixing it.
Ventilation Timing And Duration
Run the exhaust fan during your shower and for at least 30 minutes after. This extended runtime is necessary to combat moisture that can damage your laminate flooring. Aim to drop humidity from around 70% down below 50% within 60 minutes, which is the optimal range for bathroom ventilation.
If you don’t have a vent, open a window or door for 15–20 minutes minimum. A humidity sensor provides objective measurement of moisture levels. Schedule longer run times on humid days. This practice prevents moisture infiltration at laminate seams, which are vulnerable to swelling and warping.
Wipe Up Standing Water Immediately
Standing water is laminate flooring’s worst enemy. It causes swelling, warping, and mold faster than moisture can penetrate the surface. You must wipe up splashes from your shower, sink, or toilet within minutes, not hours, because lingering water seeps beneath seams and causes subfloor damage that costs significantly more to repair later. Quick cleanup is simple: grab a towel or mop, dry the floor, and prevent costly damage while maintaining your bathroom’s appearance.
Standing Water Risks
Why does standing water on laminate flooring feel like a ticking time bomb? Because it absolutely is.
Water seeps into seams, reaching your subfloor and triggering mold growth that spreads fast. Your laminate’s protective wear layer degrades, warping or cupping the planks permanently. Edge peeling starts, destroying the floor’s integrity from within.
Moisture management is crucial for bathroom laminate flooring. Standing water on your floors creates significant risks: subfloor damage, shortened lifespan, and potential health hazards. Quick cleanups within minutes reduce moisture exposure time dramatically. Dry those spills immediately, and your water-resistant installation actually performs as promised.
Quick Cleanup Methods
How fast can you move? That’s the real question when water hits your laminate floor care routine. Quick cleanup is your hidden weapon against moisture damage. Here’s what I do: I keep a dry microfiber cloth nearby at all times. The moment I spot standing water, I blot it immediately. Puddles around sinks and showers disappear in seconds. I use absorbent towels to tackle those moisture management challenges before they seep into seams. I even place a small mat by my shower to catch water before it reaches the floor. This quick cleanup method prevents expensive repairs. Staying on top of moisture keeps your laminate pristine.
Long-Term Floor Protection
While quick cleanup saves the day in the moment, protecting your laminate floor over months and years requires actively managing standing water. Water resistance requires deliberate moisture control.
For long-term protection:
- Wipe standing water within minutes, not hours, because laminate swells fast. Noticeable warping occurs in 2-4 hours with larger spills.
- Blot edges and joints to maintain tight seals and prevent water intrusion underneath your flooring.
- Use a damp microfiber cloth followed by complete drying to eliminate residual moisture that causes subfloor damage.
This spill management approach determines whether floors last decades or require replacement within years.
Add Rugs and Runners for Extra Protection
Once you’ve installed your laminate flooring in the bathroom, rugs and runners serve as your floor’s primary protection. Strategically place textured, non-slip rugs that act as a moisture barrier between water and your laminate. They reduce slipperiness, prevent standing water from reaching seams, and shield high-traffic entry points from moisture damage.
Choose quick-drying materials with low-pile textures that effectively resist moisture. Position runners along the path between your vanity, toilet, and shower to create multiple moisture-break zones. This setup protects your investment from scuffs and wear while keeping you safe. Adding these protective layers creates a bathroom environment where laminate flooring can perform effectively.
Plan DIY Installation or Hire a Professional
Should you tackle laminate flooring installation yourself, or bring in the pros? Consider these options for your bathroom waterproofing situation:
- DIY route: Start with smaller bathrooms first. Tight spaces actually simplify the process and reduce splash risk during installation.
- Professional vs DIY bathroom renovation: Get quotes from local installers who specialize in bathroom-specific moisture handling. They understand waterproofing requirements thoroughly.
- Hybrid approach: Handle prep work yourself, then hire pros for the trickiest sealing parts.
Either way, you’ll need waterproof silicone caulk and edge protection molding. Laminate flooring installation requires serious attention to moisture control; there are no acceptable shortcuts. Schedule your exhaust fan to run constantly during and after work. This directly reduces bathroom humidity levels and prevents water damage to the flooring substrate.