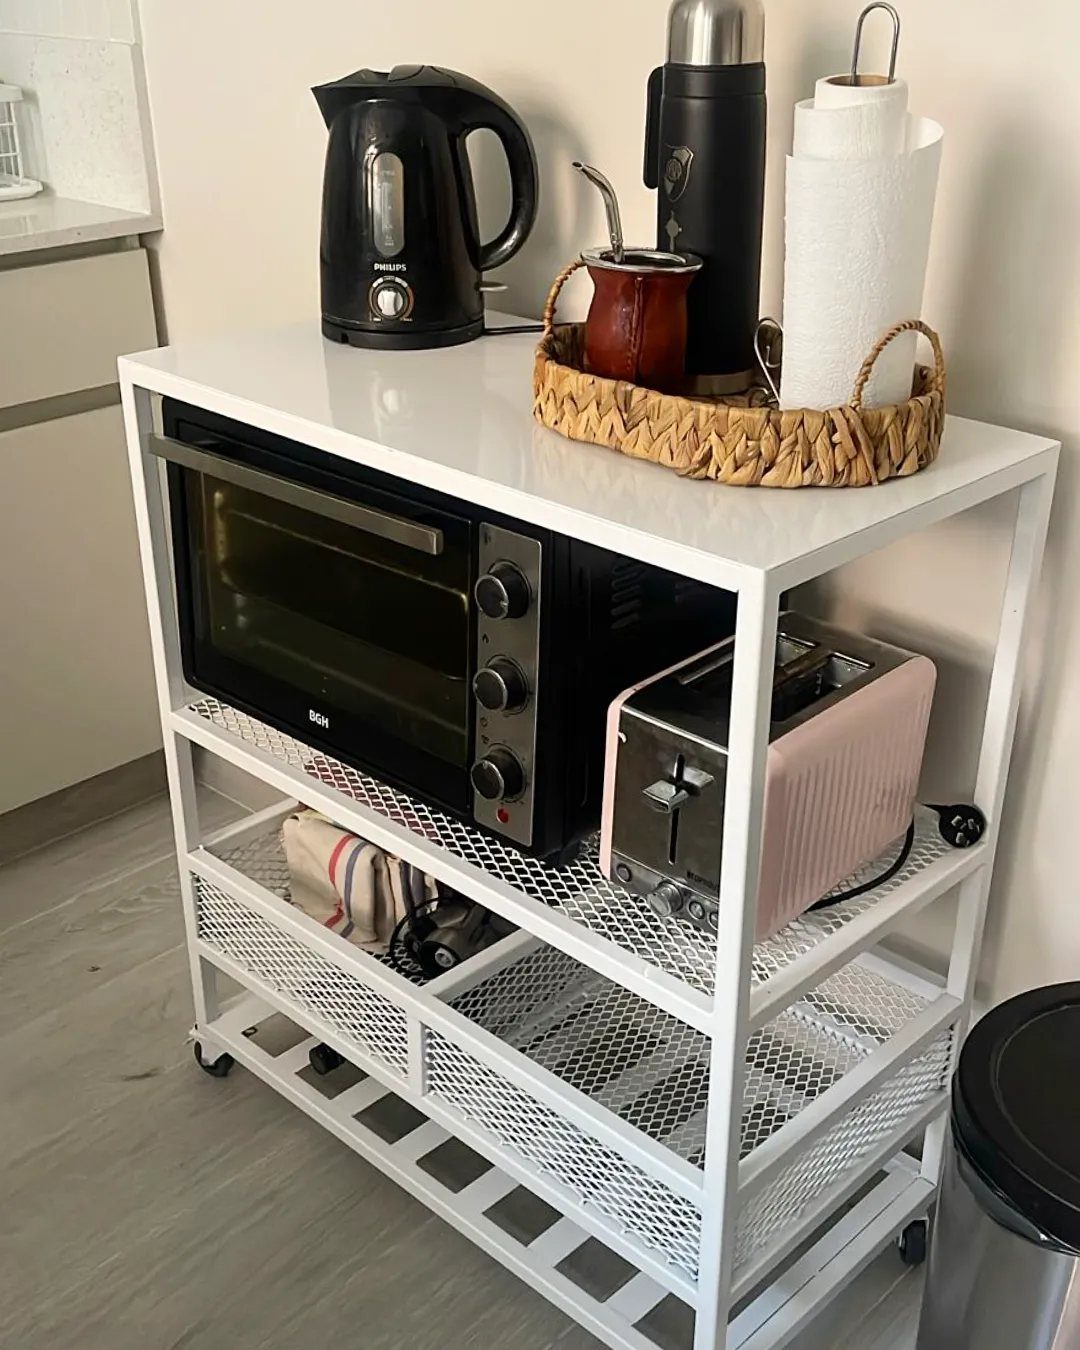
A rolling cart, pull-out drawer glides, or a basement shelf each solve a different version of the same problem, and which one fits depends on whether you rent, how much floor space you have, and how often you actually use the appliance.
Own the place? A cabinet with a lift mechanism or tambour door tucks the stand mixer out of sight until you’re ready to bake.
Renting or still figuring out your layout? A rolling cart or wire shelf goes where you need it and packs up when you move.
1. Appliance Cart
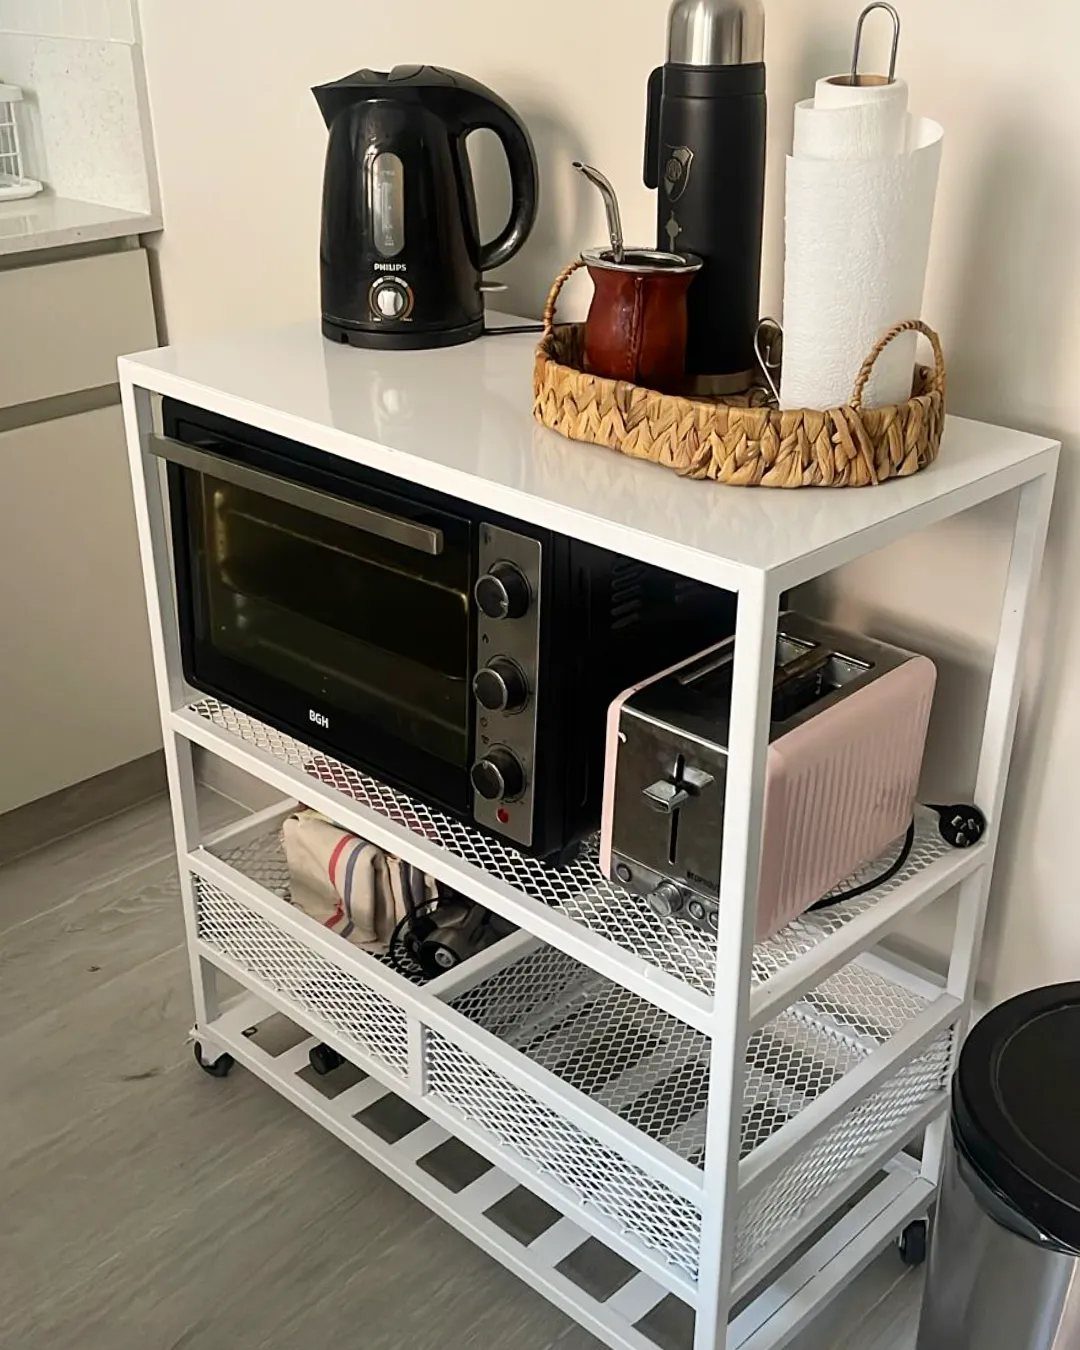
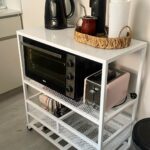
A rolling cart gives you a flexible spot for daily appliances when counter space is tight.
Most metal or wood utility carts fit a toaster, kettle, and toaster oven on 2 or 3 tiers, and the wheels let you slide the whole setup toward an outlet or tuck it beside the fridge when you need the floor clear.
If you rent or move often, this works better than installing shelves. The cart rolls wherever you need it, and you can reposition it as your kitchen changes.
2. Pull-Out Appliance Storage
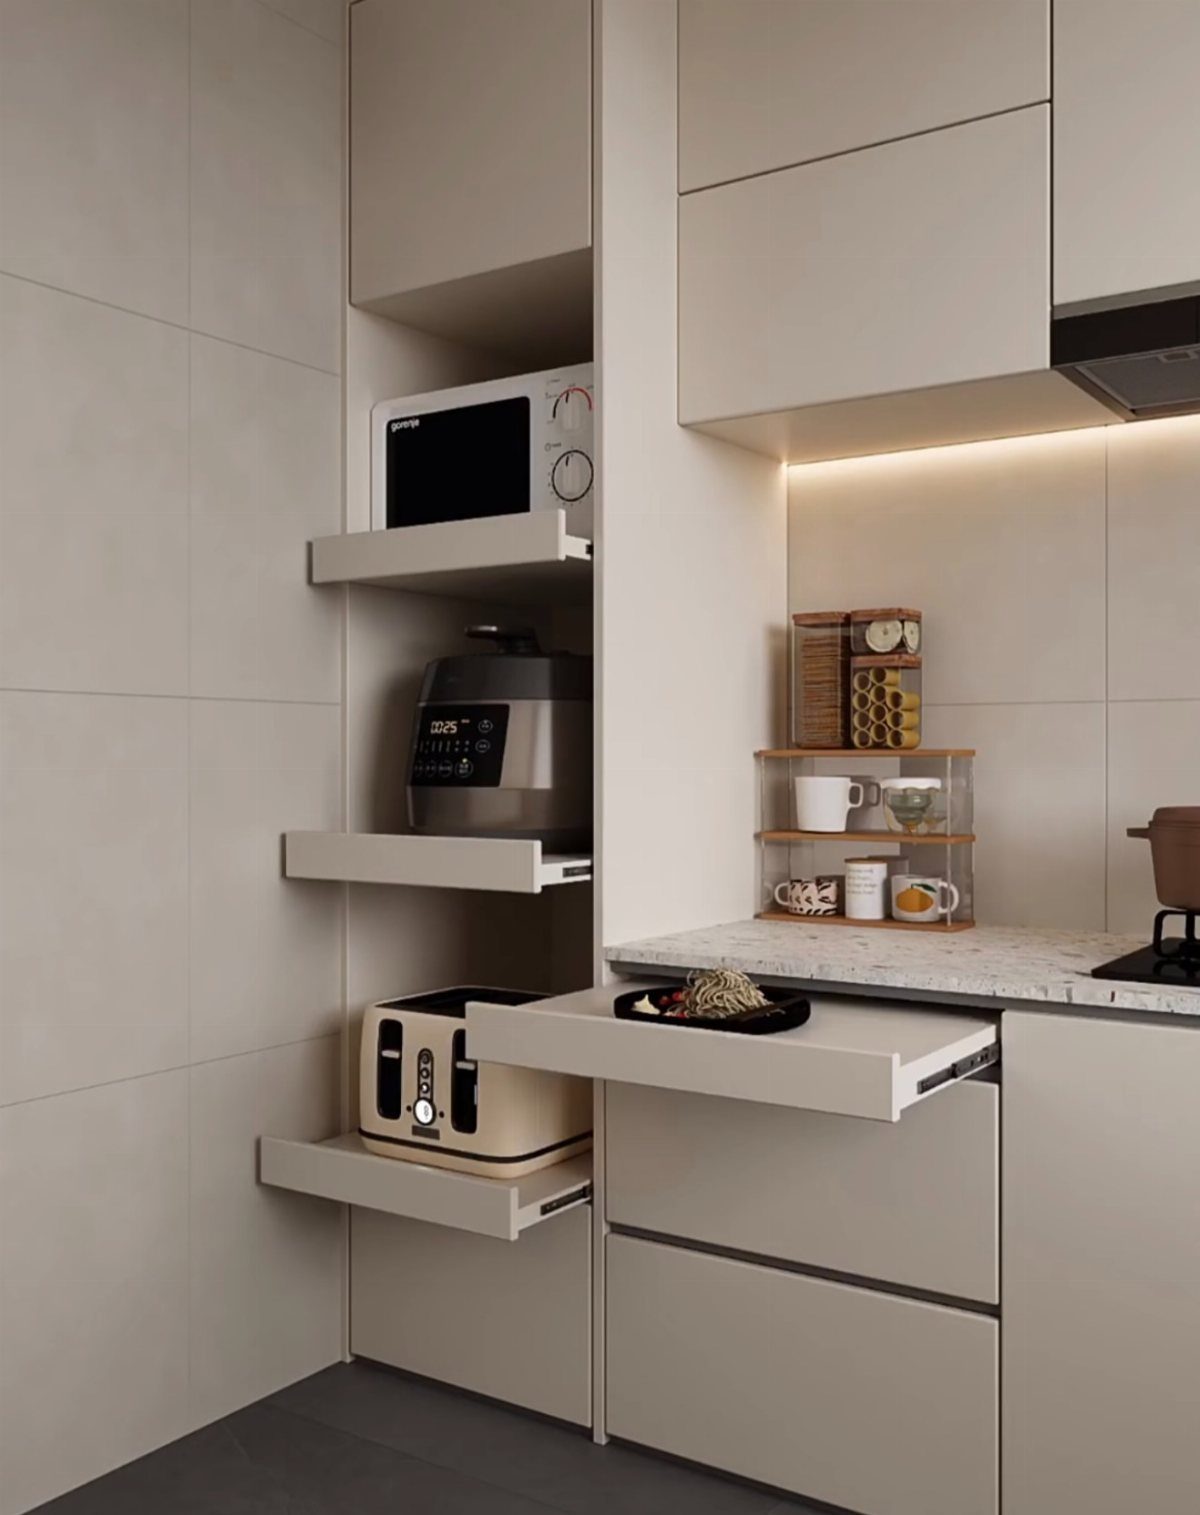
A pull-out shelf brings a heavy appliance forward so you can use it without lifting it out of a deep cabinet.
The sliding drawer sits on metal glides, and when you pull the handle, the toaster oven or stand mixer rolls to the cabinet edge at counter height.
Most glides hold 50 to 100 pounds, enough for a microwave or air fryer. Installed versions mount to the cabinet sides with screws, or you can buy a freestanding sliding shelf that drops into an existing cabinet without tools.
This setup keeps the appliance hidden but accessible, which matters in a small kitchen where every inch of counter is spoken for.
3. Pantry Appliance Storage

Pantry shelves give you storage for appliances you use less often but do not want to dig out of a back cabinet.
A slow cooker, blender, food processor, or extra toaster can sit on a shelf next to dry goods, and you can grab it when you need it without rearranging stacks of bowls.
This makes sense if your cabinets are full and your pantry has room. Keep the heavier appliances on lower shelves so you are not lifting a 15-pound Instant Pot over your head.
4. Mixer Lift

A cabinet lift is a spring-loaded platform that raises a stand mixer from the bottom of a cabinet to counter height when you open the door.
Pull the front edge up, and the hinged shelf swings forward and locks in place so the mixer sits at working level without any lifting.
These fit standard base cabinets and handle the weight of a full-size KitchenAid or similar mixer, usually around 25 pounds. Installation takes an hour if you are comfortable with a drill and a level.
If you bake often but do not want the mixer on the counter all the time, this is the setup that makes sense.
5. Coffee Station

Grouping your coffee maker, grinder, mugs, and beans in one spot keeps morning routines simpler. A dedicated counter area or a small nook with an outlet turns coffee prep into a single-location task instead of a hunt across 3 cabinets.
Some people add a small shelf above the counter for filters and syrups, or a lower drawer for pods and spoons.
If the coffee station sits away from the main prep zone, it frees up counter space where you actually cook.
This works best if you have the room and drink enough coffee to justify the real estate.
6. Appliances on Open Shelves

An open shelving unit keeps appliances together and visible without taking up counter or cabinet space.
A freestanding white or metal shelf can hold 4 to 6 small appliances on 3 or 4 tiers, and because everything is out in the open, you can see what you have and grab what you need without opening doors.
This setup suits a kitchen with enough floor space for a narrow shelving unit along one wall or in a corner.
The tradeoff is that the appliances stay visible, so if you prefer a streamlined look, this may not be the right fit.
7. Appliance Cabinet Storage

A built-in cabinet with a tambour door hides a blender, grinder jars, and food processor behind a rolling shutter that slides up or to the side when you need them.
The door keeps dust off the appliances and cleans up the look when the counter needs to stay clear.
Most tambour kits fit standard cabinet openings and track on plastic or metal guides. If you are building new cabinets or renovating, this is easier to add than retrofitting an existing setup.
Built-in cabinets cost more and stay in place. This works best if you own the home and want built-in storage that does not take up floor space.
8. Appliances on a Utility Rack

A tall metal rack beside your cabinets can hold a stand mixer, toaster oven, and toaster on separate shelves without blocking access to anything else.
The open design keeps every appliance within reach, and the vertical format saves floor space in a narrow kitchen.
Metal utility racks hold plenty of weight for small appliances.
If you have a blank wall or corner near an outlet, this gives you dedicated appliance storage without installing anything.
9. Microwave on Open Shelving
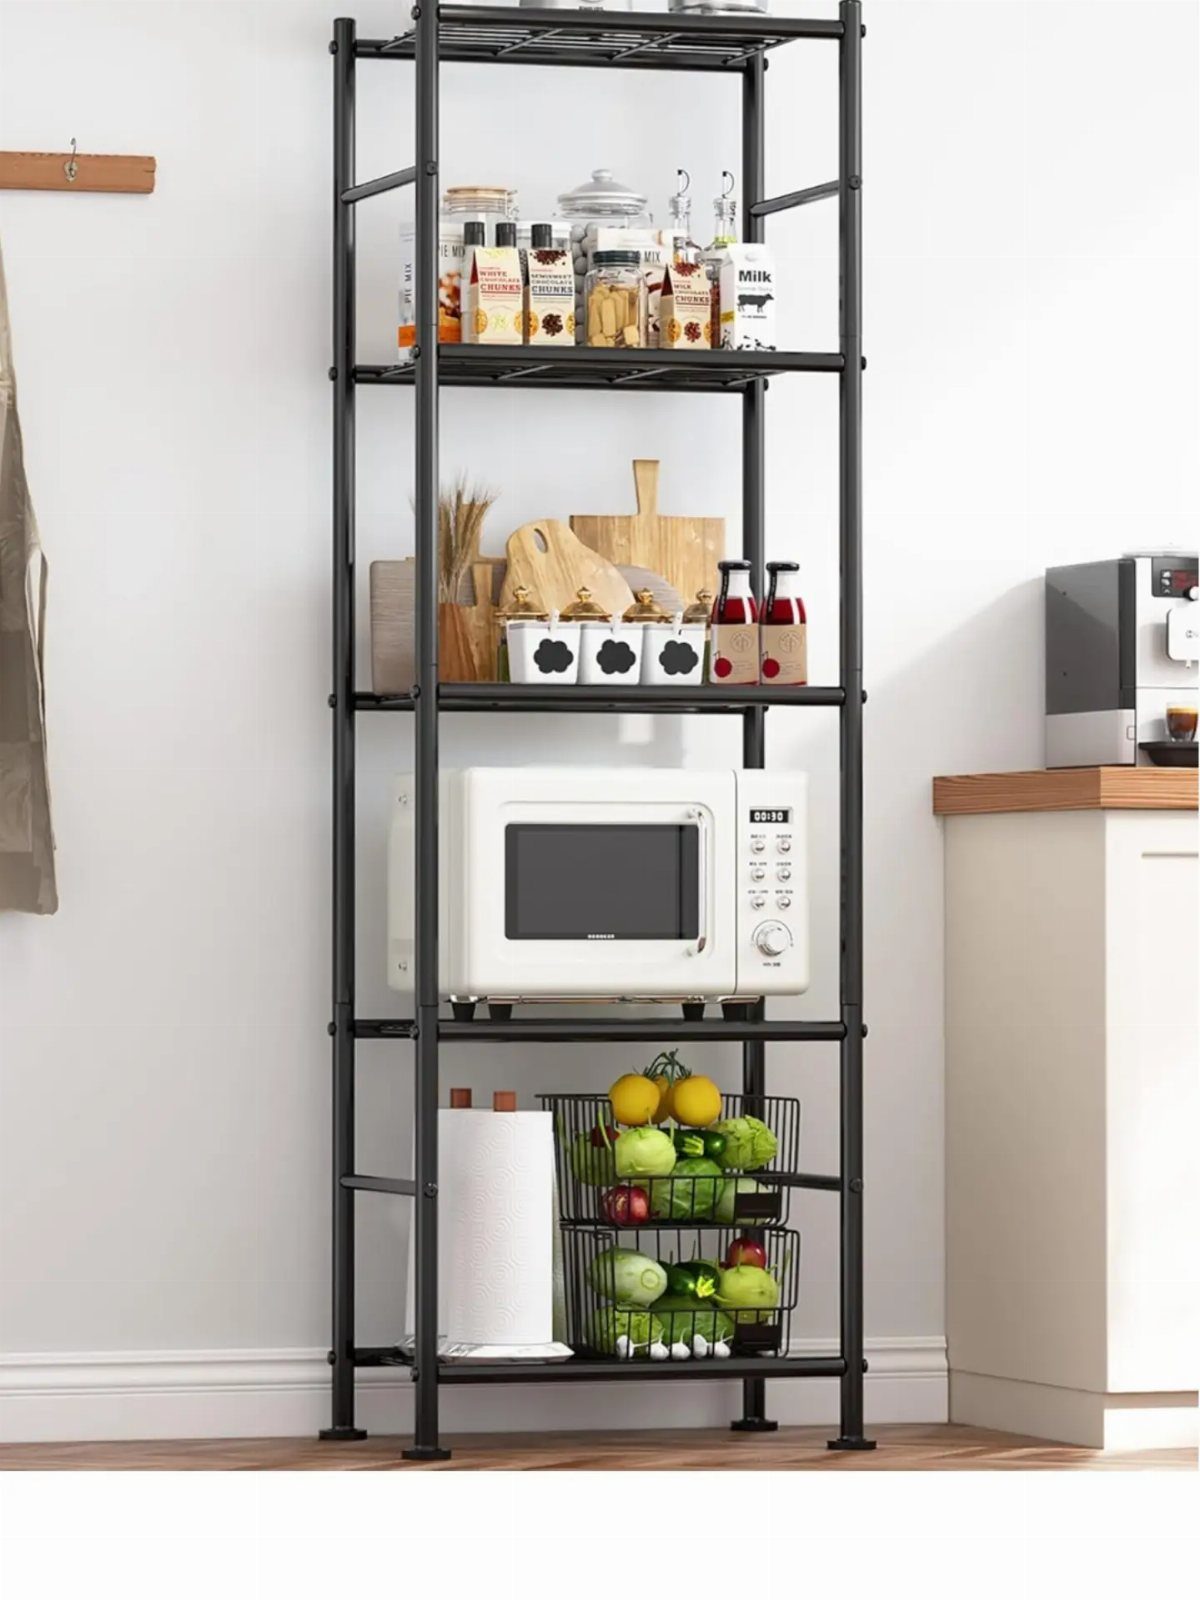
An open metal shelf puts a microwave at a comfortable height and frees up counter space for prep work.
If your counter is crowded and you do not have an over-the-range microwave, this is a simple fix.
The shelf needs to sit near an outlet, and the microwave should land somewhere between waist and shoulder height so you are not lifting hot food too high.
Most open shelving units assemble without tools and cost less than a custom cabinet insert.
10. Appliances on Rolling Shelf

A rolling shelf next to the refrigerator collects your air fryer, slow cooker, blender, and stand mixer in one mobile unit.
The wheels let you push it against the wall when the floor needs to stay clear or pull it closer to an outlet when you are cooking.
This works if you have a few inches beside the fridge and want appliances grouped without drilling into cabinets. The shelf stays low enough that you can reach everything on the top tier without a step stool.
If you rent or rearrange your kitchen often, this setup moves with you and sets up in minutes.
Plan Storage Around Real Habits
Start with the appliances you actually pull out.
A coffee maker you use every morning belongs within arm’s reach, and a waffle iron you touch twice a year can sit in a back cabinet or on a top shelf where it takes longer to retrieve.
Match storage to the space you have. A narrow kitchen with limited counter space calls for different solutions than one with an island and open wall space, and a rental limits what you can install.
Group appliances near the task they serve. The toaster sits closer to the plate cabinet than to the stove, and the blender makes more sense by the sink where you rinse it than across the room.
When the path from storage to use is short, you use the appliance more and put it back instead of leaving it out.
Real kitchens stay in use, and counters collect what you need that week. Aim for organized, not empty.
You’ve got two priorities here: concealment and convenience,” says organization expert Melanie Summers. “The trick is to store small appliances in the zones where they get used.
Choose Safe, Suitable Storage
A shelf needs to hold a toaster oven; a stand mixer needs more capacity. Check the weight rating before you load it, and if the shelf sags or the hardware feels loose, move the appliance somewhere sturdier.
Heavy appliances belong at waist or counter height where you can slide them out without lifting.
A food processor on a top shelf means hoisting weight over your head every time you use it, and setting it back up there when your arms are tired raises the chance you drop it.
If bending into a lower cabinet hurts your back or knees, a pull-out shelf or a cart at standing height keeps the appliance accessible without the strain.
Store what you use often where you can reach it comfortably, and save the high and low spots for lighter items or things you rarely touch.
Use Appliances Beyond the Kitchen
A pantry shelf or a sideboard in the dining room gives you space for appliances when the kitchen is full.
The slow cooker or extra blender can sit there as long as an outlet is nearby, and you avoid the back-and-forth of digging through stacked cabinets.
Group appliances by how often you use them.
Daily items stay in the kitchen where you can grab them without thought. Weekly appliances can sit one room over if that frees up the counter or a cabinet you need for something else.
Anything you use occasionally—a fondue pot, a second rice cooker—belongs wherever you have room, as long as you remember it is there.
If a dining-area cabinet or hallway closet sits closer to the kitchen than a basement or garage, that is the better spot. You will actually retrieve it when you need it.
Frequently Asked Questions
Are appliance garages a good idea?
The tambour door slides up or back, giving you access without swinging out into your workspace. The door rolls up or slides to the side when you need what’s inside, and most kits fit standard cabinet openings.
What is the best method for organizing small kitchen appliances?
Store appliances you use every day within easy reach on the counter or a low shelf, and put weekly-use items in a cabinet near where you use them.
Anything you touch less often can sit on a higher shelf, in the pantry, or in a sideboard where it stays out of the way.
How do I properly store a toaster oven in my kitchen?
A toaster oven belongs on the counter or a cart where it has good ventilation, not pushed back under cabinets where heat can damage wood or raise fire risk.
If counter space is tight, a rolling cart or open shelf keeps it accessible without crowding your prep area. Store it near an outlet and leave a few inches of clearance on all sides when it’s in use.
How do I hide a microwave in a small kitchen?
An open shelf at waist or shoulder height puts a microwave off the counter without installation, or you can set it on a pantry shelf or sideboard if an outlet is nearby.
Built-in options like an over-the-range model or a cabinet insert work if you own the home and have room for construction. Any spot you choose needs ventilation, so leave space around the vents.
Where can you store small kitchen appliances?
Small appliances can sit on the counter, in a cabinet, on pantry shelves, or on a freestanding cart or shelf depending on how often you use them and how much space you have.
Daily-use items stay on the counter or within arm’s reach, and weekly or occasional items go in cabinets or the pantry where they stay accessible without blocking prep space.
A dining room buffet or coat closet just outside the kitchen keeps things close enough to carry in when you need them.
What appliances are best stored on a kitchen counter?
Appliances you use every day or several times a day belong on the counter where you can grab them without opening a cabinet.
A coffee maker, toaster, toaster oven, or kettle makes sense in that spot. A cart gives you a landing spot for the coffeemaker, toaster, and kettle without committing permanent counter real estate.
What appliances are best stored in a kitchen cabinet?
Appliances you use once or twice a week, like an indoor grill, blender, can opener, or air fryer, belong in a cabinet near where you use them.
What appliances are best stored in a kitchen pantry?
Appliances you use occasionally, like a slow cooker, Instant Pot, food processor, or stand mixer, can sit on pantry shelves if the kitchen is full and the pantry has room.
This frees up cabinet space for items you reach for more often. Anything over 10 pounds should sit at waist level or lower to avoid an awkward lift.
How do you arrange kitchen counter appliances?
Group appliances you use daily toward the back of the counter near an outlet so they stay plugged in but leave room for prep work in front. A tray or a dedicated corner keeps them together and limits visual clutter.
If you need more counter space, move weekly-use appliances to a cart, shelf, or cabinet and keep only the items you touch every day out in the open.